If you’re a freelancer or a small business owner, chances are you’ve had to learn by doing. This works really well for many things (perhaps excluding rocket science).
While this learn-as-you-go approach can take you far in the technical realm, it can occasionally have its downsides. For instance, changing your entire website domain, all your site’s URLs, all the organic history that comes along with it, may not be the best area to “wing it.” You risk causing substantial harm to your online presence.
The good news is that you can change your domain name. And you can do so without permanently impacting your SEO. And we’ll show how to do it, right here in this post.
What a deal!
In this post, we’ll first cover a few reasons why you might change your domain name, as well as the potential SEO dangers of doing so. Then, we’ll show you how to modify your domain without damaging your site’s visibility. Let’s get started!
Why You May Want to Change Your Domain Name (Common Reasons)
For many website owners, choosing a domain name is one of the most important decisions they can make when crafting an online presence. While some may get lucky and select a domain that lasts a lifetime, it’s possible that your domain name needs changing at some point:

Here are just a few reasons you might want to consider a domain change:
- Rebranding. Many of the best online businesses will either evolve or pivot in order to succeed in the competitive e-commerce marketplace. You may need to update your domain name to reflect your site’s new image.
- Copyright issues. Even the most well-intentioned entrepreneur can make a mistake. If you find out that your domain name is infringing on someone’s intellectual property, you will likely need to change it to prevent legal issues.
- Growth. Your small business may need to modify its domain in order to expand. For example, if your old domain name is too specific, you might need to change it to something more general.
- Relocation. If you run an online store, moving locations may not be a very big deal. However, if your domain has a country code Top-Level Domain (ccTLD) such as .us or .ca, you might need to modify it to avoid confusion.
These are just a few common scenarios that may require you to register a new domain name. However, you might have other reasons. For instance, maybe you’ve been monitoring your ideal domain and found that it’s become available. There’s nothing wrong with upgrading simply because you’ve found something better.
The (Avoidable) Dangers of Changing Your Domain Name
If you’re considering changing your domain name, chances are you already know a bit about Search Engine Optimization (SEO). In a nutshell, SEO is when you make an intentional effort to get your pages to rank higher in Google’s search engine results. For most site owners and digital marketers, SEO and site performance are a top priority these days.
Therefore, you’ve likely heard some horror stories about people changing their domain and losing all their hard-earned rankings. This type of loss can have serious consequences for any business. That’s because when your site is no longer visible, new visitors won’t be able to find it, and search engines won’t show it in search results.
While this can happen, you don’t need to panic. As long as you follow some simple SEO best practices and change your domain name the right way, you can avoid most of the damage to your search engine rankings. What’s more, you can even minimize other inconveniences, like unnecessary downtime.
How to Change Your Domain Name Without Hurting SEO
Now that you know some of the common motivations for changing your domain name and how it could affect your website, you’re probably wondering how to do it with minimal side effects. Here are five steps you can follow to change your domain name without damaging your site’s visibility.
Step 1: Choose a New Domain Name with Lasting Power
The first step is to simply choose a good domain name. For starters, you’ll want to pick a domain with an appropriate Top-Level Domain (TLD).
It’s also a good idea to make your new domain easy to spell, type, and pronounce. That way, you can avoid visitors becoming frustrated by frequent typos. It will also encourage users to share your domain name verbally.
You’ll also want to make sure that your new domain offers flexibility. This will help ensure that it can grow with your online business and avoid the need for another name change in the future.
Once you’re satisfied with your research, you can go ahead and buy a domain name.
Step 2: Audit Your Backlinks & Referring Domains
Even though you’ve picked the right domain name, you’re not quite ready to make the switch yet. Before you make any sudden changes, you would be wise to conduct a thorough audit of all the places where your old domain appears online, otherwise known as your off-page SEO presence.
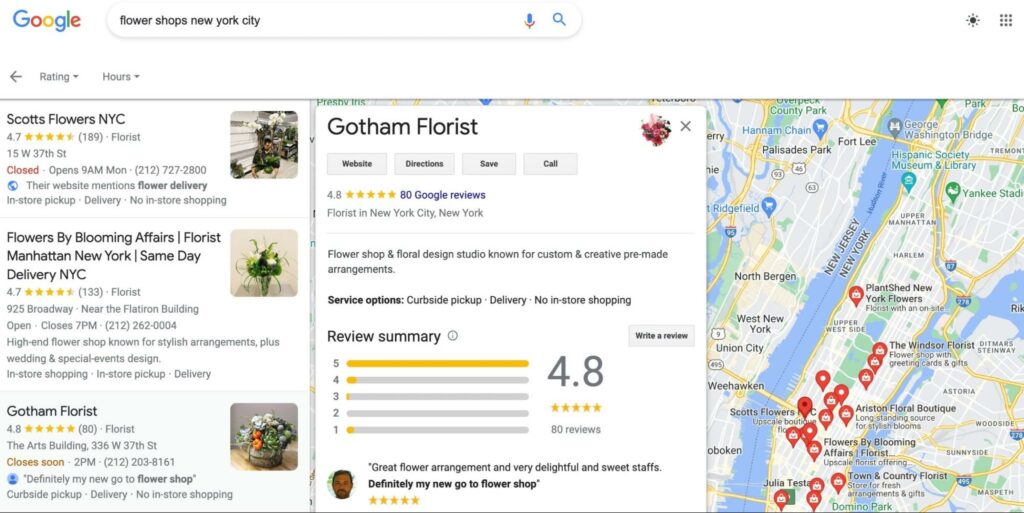
For instance, you may have it listed in all your social media bios or in your Google Business Profile:

Some people may recommend running an audit as a last step, but you’ll want to minimize the time that your old website is listed in these locations. Therefore, it’s best to be prepared beforehand. It’s important that you make note of all these locations, so you can return to this list later to update your website URLs.
Step 3: Migrate Your Site to the New Domain
After you’ve purchased your shiny new domain name (congratulations!) and conducted your audits, you’re ready to get your hands dirty. It’s time to migrate your website to the new domain.
This process will vary depending on your hosting provider. However, it can be a bit tricky, as it requires moving all of your site’s files and databases.
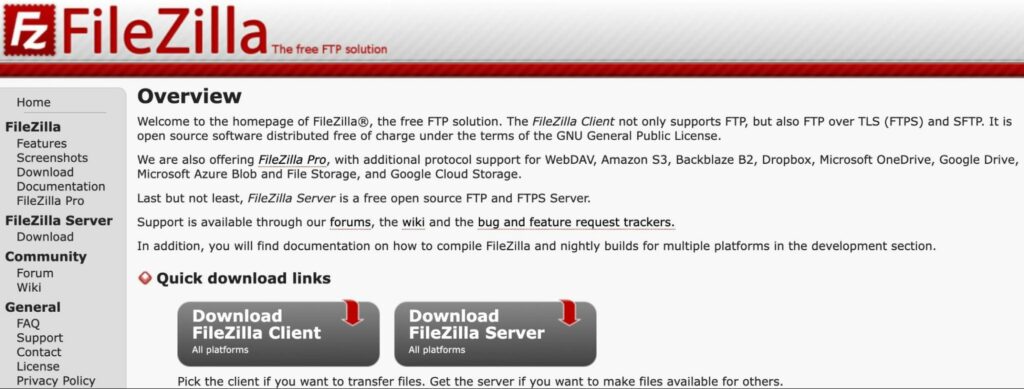
If you plan to do it manually, you’ll need to use a Secure File Transfer Protocol (SFTP) client, such as FileZilla:

If you’re not confident that you can complete the migration process on your own, you might consider hiring a WordPress developer. You could also check whether your existing hosting provider offers this service.
For example, all DreamHost plans come with free migration services, which include WordPress domain transfers. So, if you’ve been meaning to change your hosting provider, now might be a good time to do it.
Step 4: Set Up Redirects
Now that you’ve migrated your site, you’ll need to start mapping URLs by setting up permanent (301) redirects. Essentially, a redirect takes users (and search engines) visiting an old URL to your new one. This will be essential for minimizing the negative effects of changing your domain, as broken links can damage your SEO.
Unless you’re comfortable accessing your site’s core files, the quickest and easiest way to set up your redirects is with a WordPress plugin, such as Redirection:

There are many types of redirects, but the 301 redirect is the best option for this scenario. That’s because it’s permanent and will transfer the SEO value of your old pages. Even if you’re using a plugin, you’ll want to do this transition carefully. That way, you can avoid creating redirect errors, which might damage your site’s performance and hurt your SEO.
Step 5: Update Online SEO Tools & Search Console
Now, all that’s left to do is wrap up with some digital housekeeping and tell Google, “Hey, I moved my site.” You’ll want to do this immediately after migrating your site and setting up your redirects to avoid any long-term damage to your site’s search engine visibility.
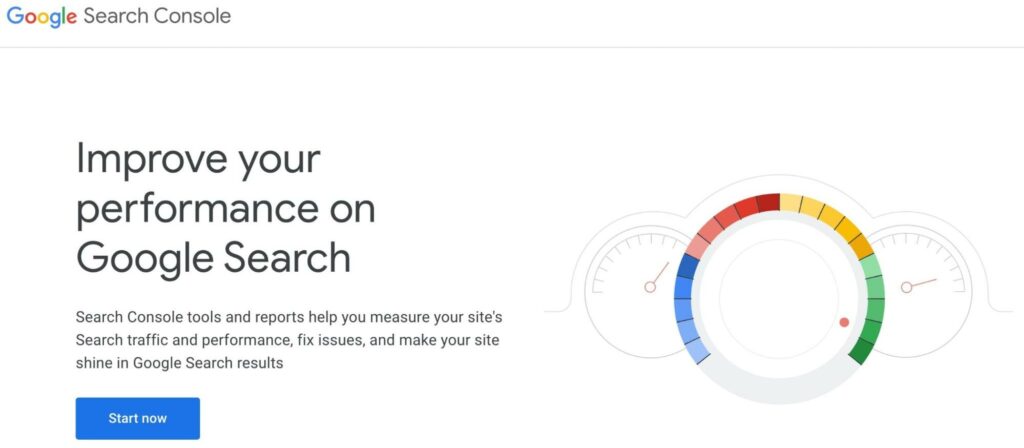
First, navigate to Google Search Console, to verify your new domain name and submit a Change of Address. This way, Google is made aware of the change and you can continue to monitor your site’s indexing in the search engine rankings:

Additionally, if you have an active Google Analytics account, now is a good time to update it to reflect your new website’s location. You’ll need to repeat this process for any other SEO tools you use. Finally, you can revisit the list you created in your audit (step two) and change all those URL mentions to your new domain name.
Change Your Domain Name the Right Way
There are many reasons you may not want to stick with the original domain name you chose for your website. Luckily, you can change your domain with relative ease. However, you’ll need to do it carefully, so you don’t cause your site to drop in the Search Engine Results Pages (SERPs).
Looking for an easy way to ensure that your site does well in the search rankings? Consider leaving the SEO work to DreamHost’s professionals when you sign up for our Pro Services!

Search Engine Optimization Made Easy
We take the guesswork (and actual work) out of growing your website traffic with SEO.
Learn More
