In the switch from Universal Analytics (UA) to Google Analytics 4 (GA4) — which will go fully into effect July 2023 — a lot of things have changed.
One such change that has majorly impacted website and application owners, managers, and marketers is how user behavior is monitored and reported.
UA’s “canned” reports (we say that lovingly) are all but gone. In their place is a powerful and fully-customizable editor for creating nearly endless user data reports.
But, as Spider-Man kinda-sorta said, with great power comes a great amount of learning.
So in this installment of our guides to getting the most out of GA4, we’re going to cover all things in GA4 Explorations.
Dive in to learn what the heck that means, take a guided tour of all the core pieces you need to know, and come out on the other side with your very first exploration.
What Are GA4 Explorations?
If you’ve had a chance to poke around in Google Analytics recently, you probably know GA4 still has what it calls “Standard reports,” which enable property owners to report on users, acquisition, engagement, monetization, and more.
Engagement Metric
‘Engagement metrics’ refer to any measure of user activity on a website. It can include clicks, views, comments, and more. This information is typically obtained using data tracking and analytics.
Read MoreBut we’re not here to talk about those today.
What we’re going to cover in this guide is something completely new and unique: GA4 Explorations.
Explorations are powerful charts that can be quickly built from the ground up and customized to view detailed visitor data (web and app) and uncover helpful insights about consumer behavior.
A note for the record before we move on, Google Analytics didn’t shake things up just for fun — Reporting (and many other capabilities) had to shift as Google Analytics’ data model changed to focus on events versus factors like sessions and pageviews that UA relied on. If you’re curious about this new data model, learn more from our guide to GA4 events.
Why is it Important to Master GA4 Explorations?
The fundamental benefit of Explorations in GA4 is flexibility.
While the predetermined reports provided by UA certainly can be customized, explorations are on a whole different level regarding personalization.
Along with several helpful graph templates to get you started, exploration fields make it easy to compare custom audience segments, cross-reference any data, analyze behavior over an entire user lifetime, uncover and study unknown user journeys, and almost anything else you can imagine.
GA4 Explorations doesn’t just stand out when dissecting data — it’s also extremely helpful at visualizing and making all that data interactive so you can actually understand what it’s showing you.
Another awesome feature of GA4 Explorations is its speed. Configure robust reports ad hoc, add and change filters, and share or export exploration reports with the click of a button and watch your charts update instantly.
In addition to all these benefits, the fact is that explorations are the new way to dive into data if you’re using Google Analytics. So if you’re going to continue to use the platform to understand and report on your web and application users — mastery is no longer a maybe; it’s a must.
With that in mind, let’s get to know the ins and outs of GA4 Explorations.
The Key Elements of GA4 Explorations
Not surprisingly, there are a lot of moving parts within GA4 Explorations. In this section, we’ll step through the main components you need to be familiar with to navigate the feature.
We highly recommend opening up your GA4 panel and following along to make this feature walkthrough as helpful as possible.
Explorations Main Page
First, if you’re not already using GA4, here’s how to update from Universal Analytics to GA4.
Once you’re signed into the latest instance of Google Analytics, choose the account and property or app for which you want to create an exploration. Do this using the dropdown menu in the upper left corner of the screen by the Analytics logo (on desktop).
In the sidebar menu, select Explore — and you’re in!
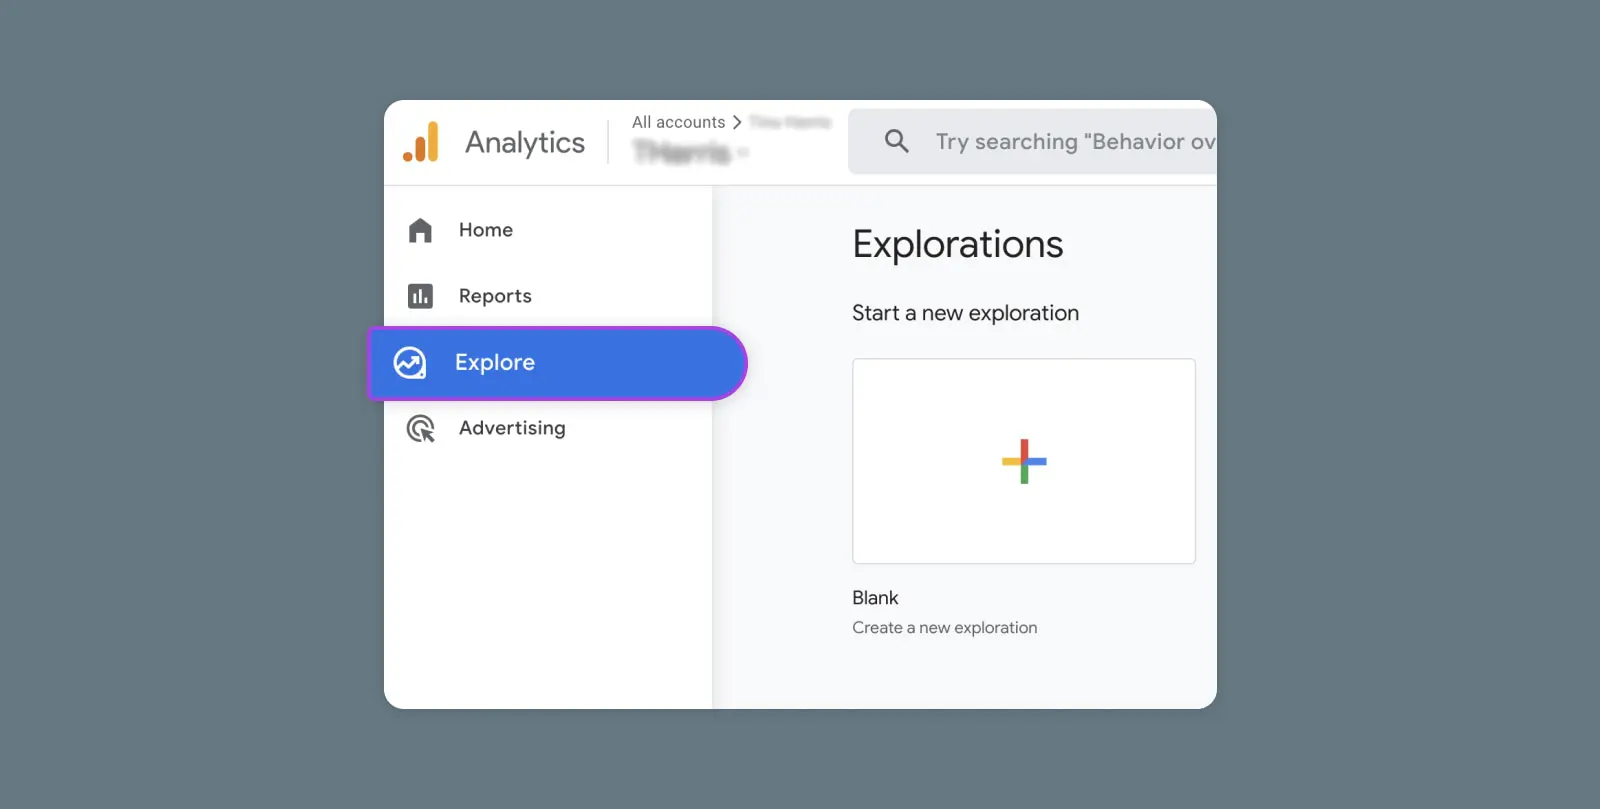
This is where you’ll choose to start with either a blank template or a “technique” for your exploration. (Click on “template gallery” to view templates built for specific use cases — such as acquisition — and industries — such as ecommerce and gaming.)
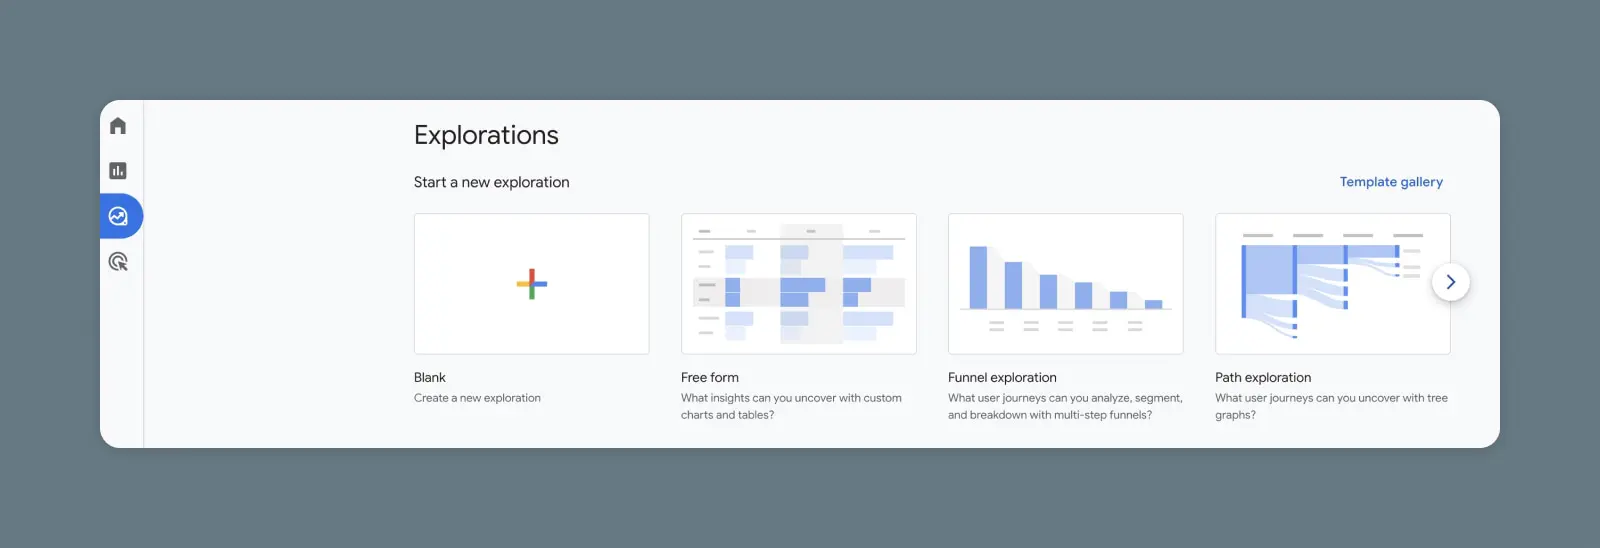
Techniques are types of visualizations. At the time of this writing, these are the techniques GA4 offers:
Free-Form Exploration
Free-form is almost like starting an exploration from scratch, but a little less daunting. Begin with a crosstab layout for displaying your data, then layer in other visualization elements of your choice such as geo maps, scatter plots, line charts, bar charts, and more.
Cohort Exploration
Look at segments of users that share common attributes to gain a deeper understanding of their behaviors and patterns with a cohort exploration.
Funnel Exploration
Funnel exploration is especially helpful for visualizing the steps users take to complete specific conversions. By knowing this, you can better predict and focus on the key actions that lead to money-making conversions.
Segment Overlap
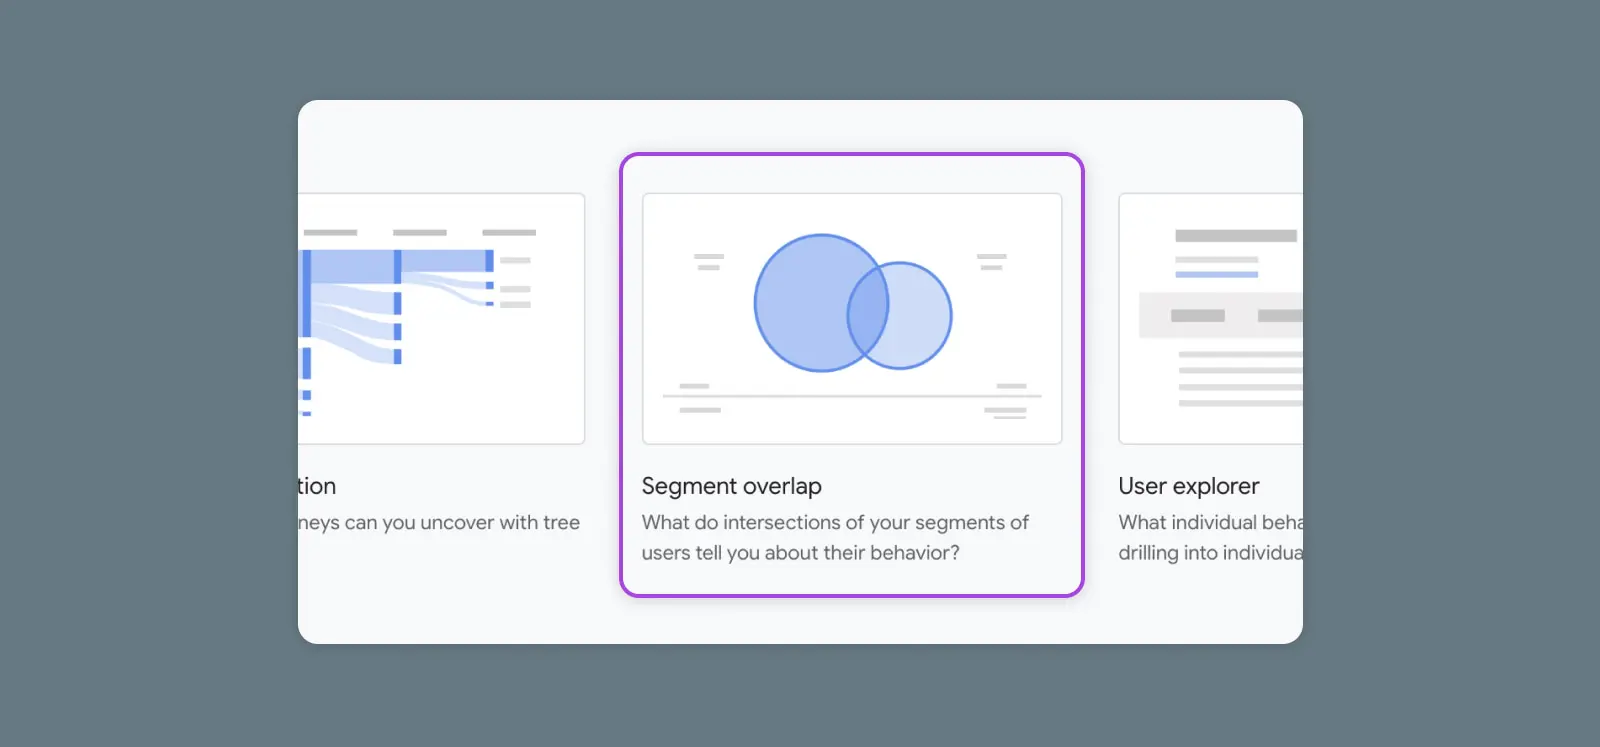
Segment overlap is self explanatory — this exploration displays what various segments (up to three as of now) have in common. Use this to discover new, highly-specific audiences.
User Explorer
With user explorer, you can look at groups of users as well as individuals — such as low spenders or high spenders — to understand what makes them tick and how you can replicate them.
Path Exploration
Use path exploration to create a detailed tree graph that visualizes how users move through your website or app.
User Lifetime
The user lifetime exploration can uncover individual user behavior and value during their time as your customer. Similar to user explorer, this exploration provides hints at what kinds of sources, campaigns, demographics, and behaviors may result in high lifetime value.
Once you’ve selected your template or technique, you’ll land inside the exploration editor, which Google calls the “canvas.”
Canvas
Within the canvas, you’ll notice a larger area on the right side of the screen that will display your data within your chosen technique. You can use multiple different techniques inside a single exploration. Just open a new tab toward the top of your canvas to create a new one (ten tabs is the limit as of now).
On the left side of the screen are two columns — Variables and Tab Settings — where all your configuration will be done.
Variables
The left-most column is where your variables live. As of now, every exploration has these three main variable sections:
Segments are subsets of data such as users from a specific country, recently active users, users who haven’t made a purchase, users who have made a purchase, and so on. There are tons of ways to slice the data here. Google Analytics provides segment suggestions, but you can create your own or use their predictive functionality to build audiences based on the behavior it’s observed in your website or app.
Dimensions are attributes associated with data points like events, products, users, etc. For example, the dimensions of a product may be product name, product category, product price, product SKU, etc. Explorations has over 100 predefined dimensions, and customization is possible.
Metrics are variables for measuring. So metrics include things like number of active users, number of first-time purchases, number of checkouts, etc. Google provides over 100 options, and you can create your own as well.
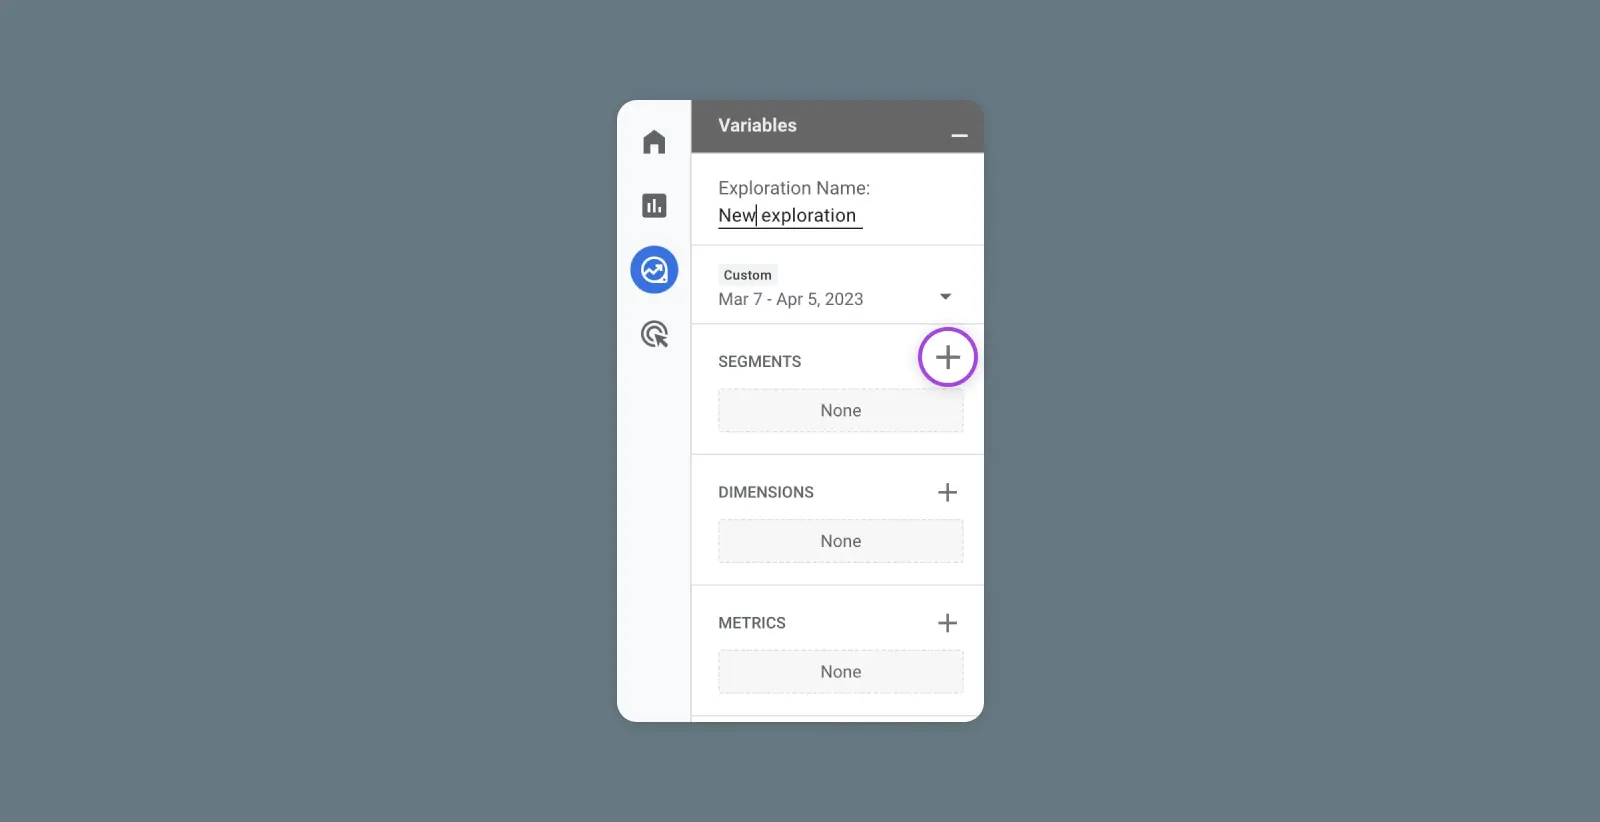
For all of these variables, use the plus button to pop open a menu to view and save/import predetermined and custom variables. You can apply up to 20 dimensions and 20 metrics to each exploration.
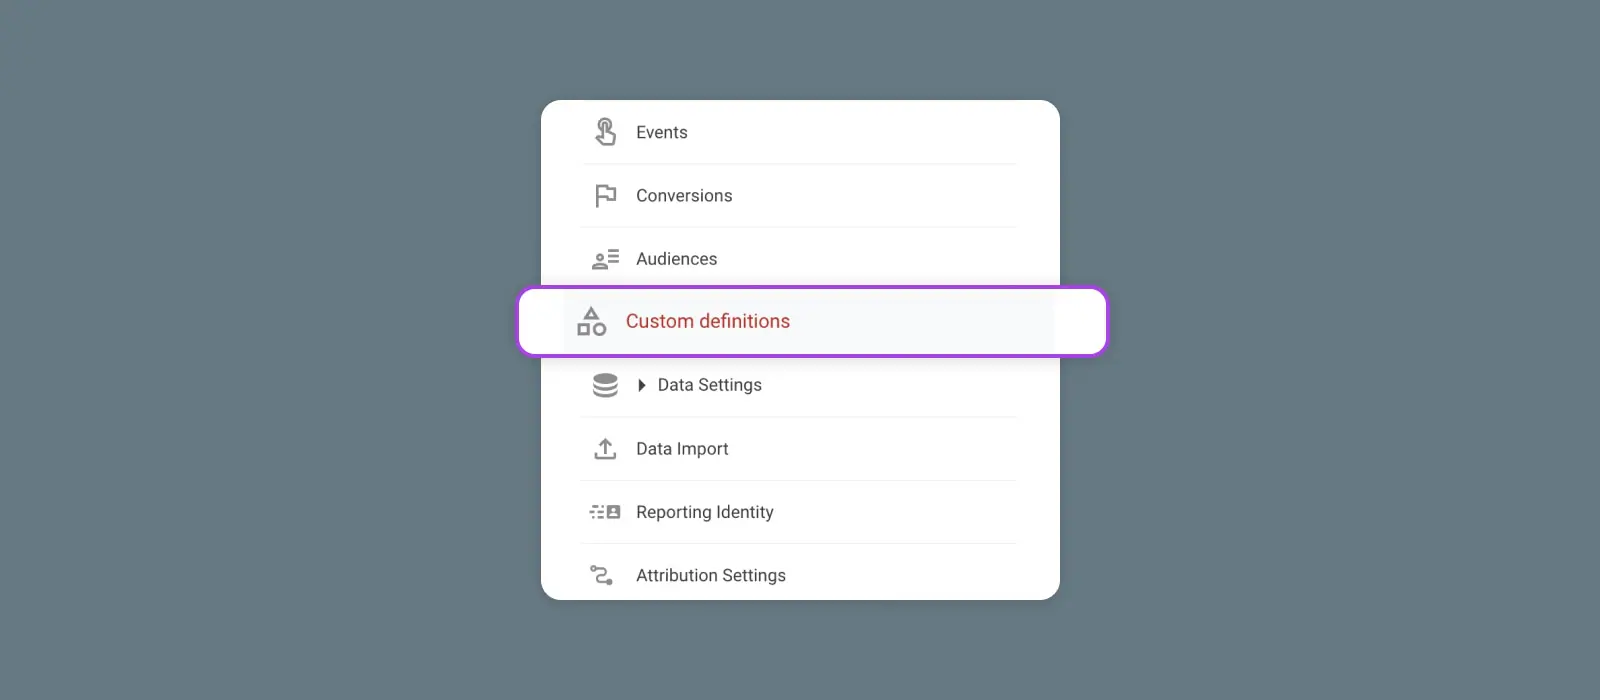
To create custom dimensions and metrics, visit the Admin gear icon at the bottom left of your screen, make sure you’re in your desired account and property, and select “Custom definitions.”
One more thing you can do in this column is give your exploration a name and set a date range.
Any segments, metrics, or dimensions you want to see in your exploration, across tabs, have to be documented here in Variables. Variables is like the input section for all the analytics data your exploration will use.
Tab Settings
Now let’s shift our attention to the next column: Tab Settings.
While variables outline the segments, metrics, and dimensions of data you want to see in your exploration, Tab Settings is what displays that data according to the technique. Tab Settings gives data shape and context by applying rows, columns, filters, comparisons, and various other configurations. In other words, Tab Settings is where you tweak what your exploration actually looks like.
The Tab Settings that enable you to customize your exploration vary widely by technique.
For example, with a free-form report, you can configure your exploration chart’s rows and columns using your chosen dimensions. With the path technique, you will configure nodes instead (nodes are data points along the path). And with the funnel technique, your settings will include choosing the next action from your dimensions.
To apply variables to your Tab Settings, drag and drop them into the dotted box or click on the box for a dropdown menu of options.
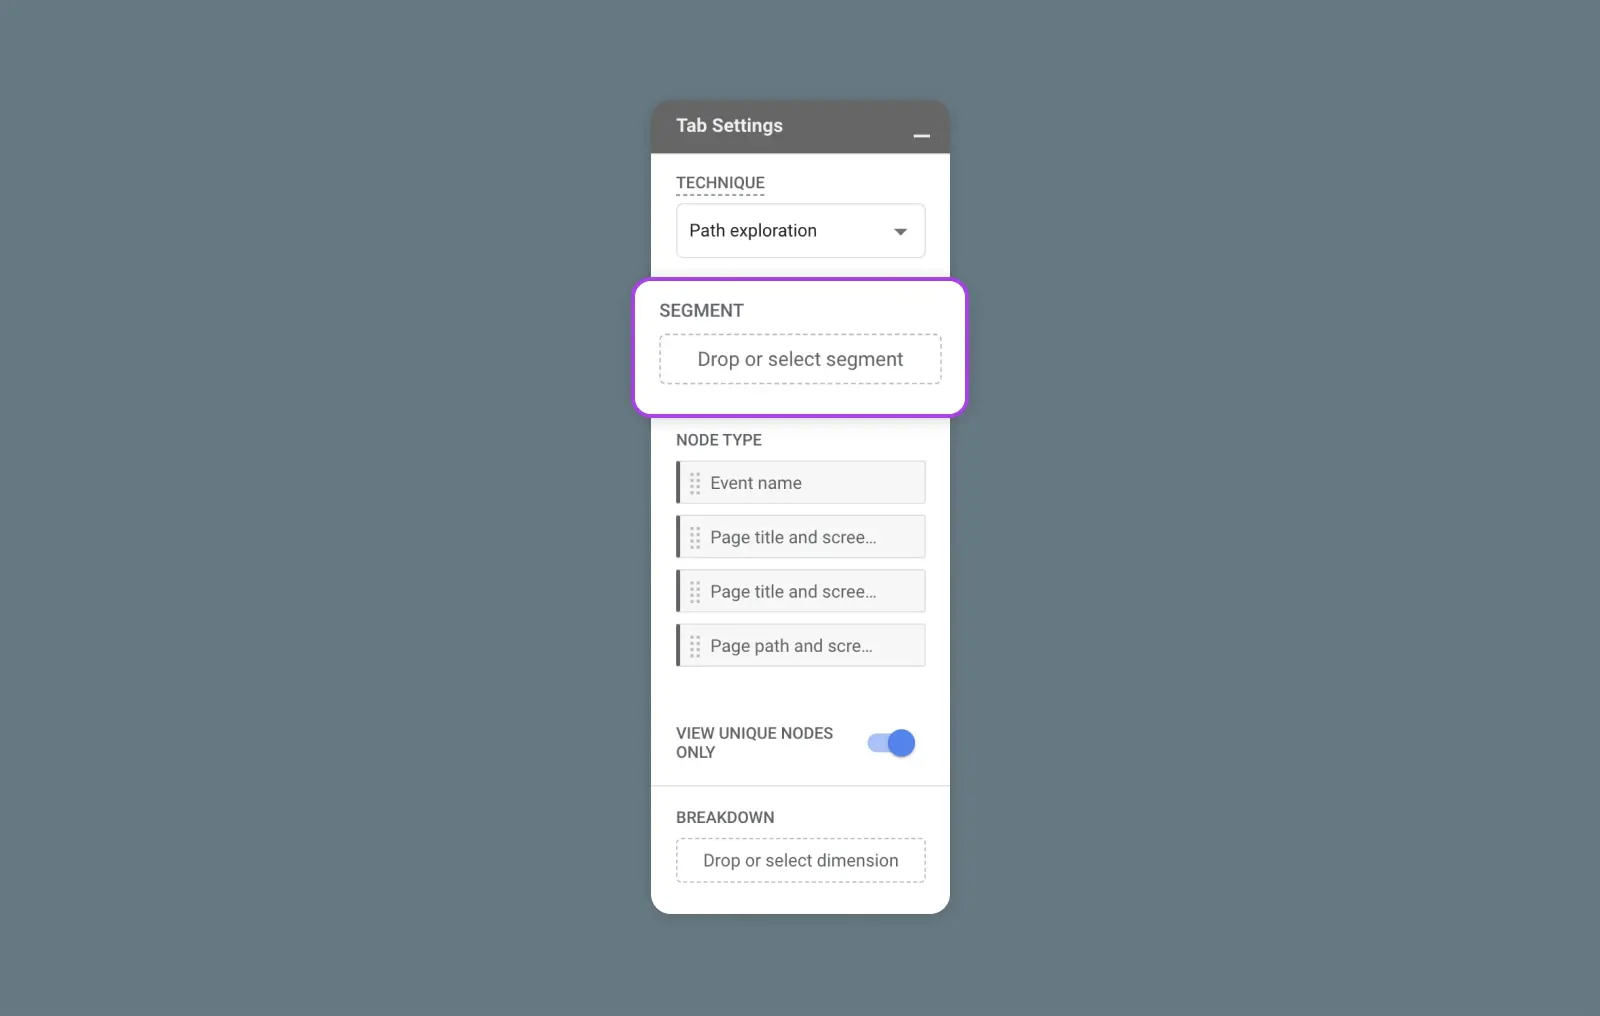
The dropdown menu at the top that enables you to choose your technique is constant across the Tab Settings for every technique.
To provide the details on how exactly to configure every single Tab Setting for every type of GA4 technique currently available, we’ll provide these quick links to Google’s guide to each:
- Free-form exploration
- Cohort exploration
- Funnel exploration
- Segment overlap
- User explorer
- Path exploration
- User lifetime
Walkthrough: Create Your First GA4 Exploration (Segment Overlap)
The segment overlap technique is pretty unique as it enables you to pinpoint hyper-specific segments within your existing audience that you can then go on to explore further, draw insights from, and target with your marketing efforts.
So, let’s go through the full process of creating and sharing a GA4 exploration based on the segment overlap technique:
1. You know the drill at this point — sign in to Google Analytics, navigate to the GA4 property or app where you want to create this exploration, choose the Explore tab in the left sidebar, and hit the Explorations landing page.
2. Select the segment overlap template to open the canvas.
3. In the Variables column, give this exploration a name and select the date range from which you want to pull data.
4. Still in Variables, use the plus buttons to add the segments, dimensions, and metrics that define the data by which you want to slice and dice your exploration.
5. In the Tab Settings column under Segment Comparisons, you can pull in up to three segments to compare.
6. Fill out Breakdowns with dimensions, which are attributes that give further context to your segments, like country, device type, etc. These will make up your rows.
7. Pick the starting row for your table and the number of rows to display.
8. In the Values section, choose your metrics, which are qualitative measurements like number of ad clicks, number of sessions, etc. These will guide your columns.
9. If you want to refine your results even further, add dimensions or metrics to the Filters section. This field enables you to get hyper-specific on what kind of device, which countries, etc. you can view your exploration by.
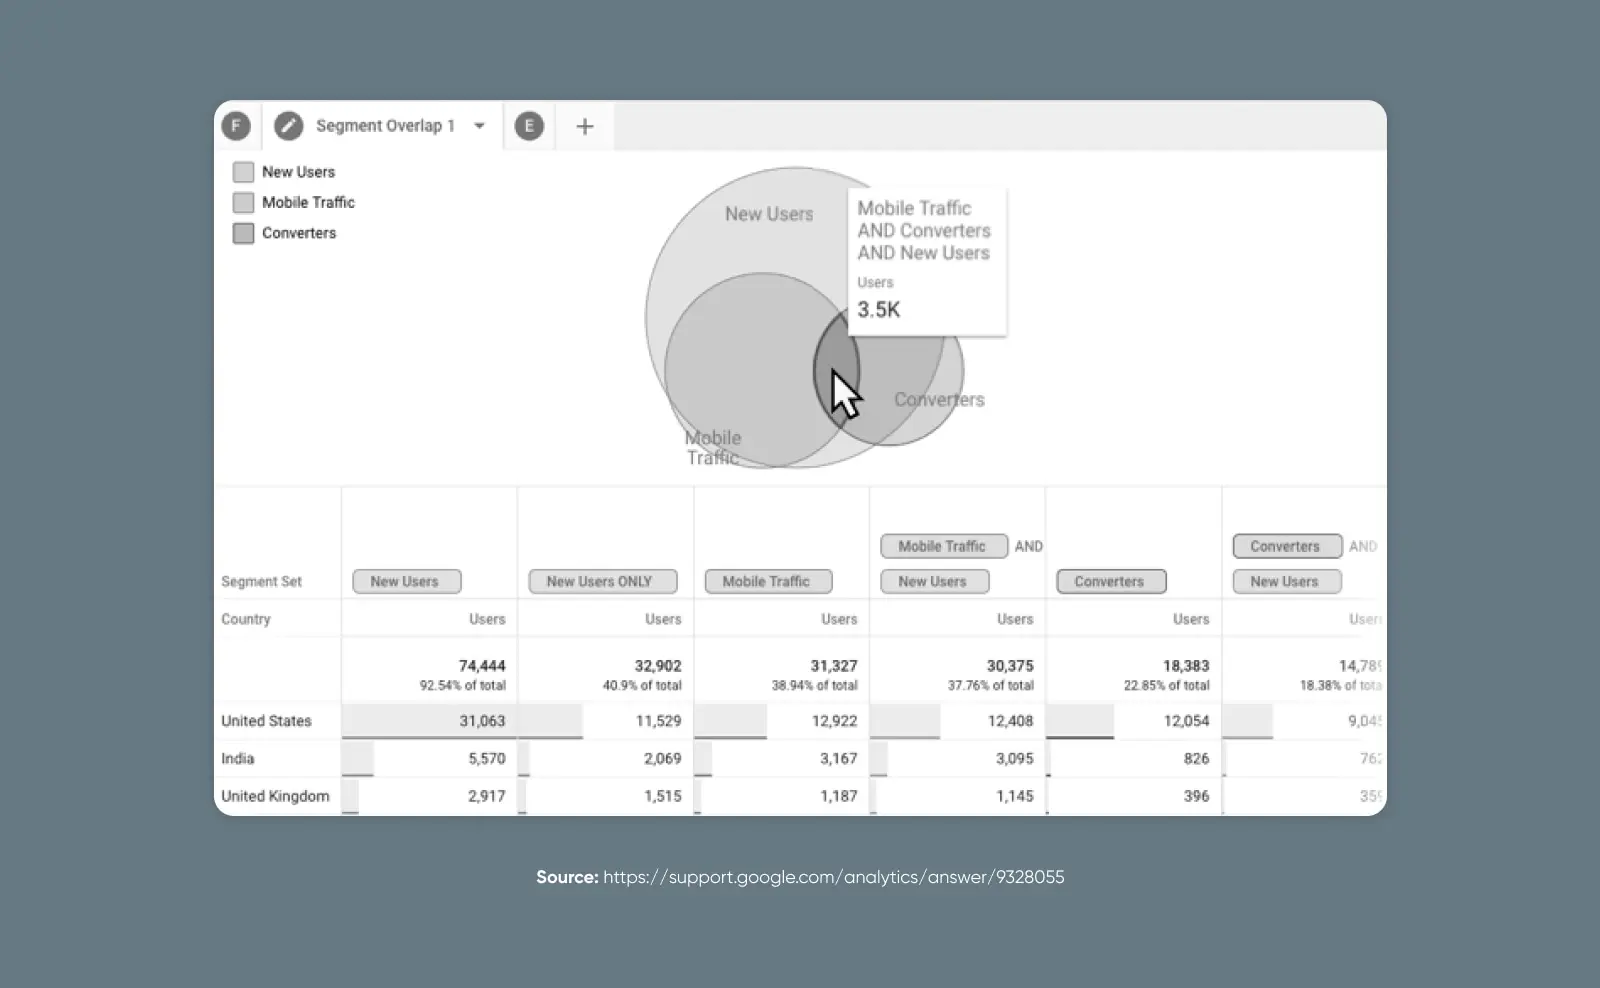
10. You should see a chart and table taking shape in your canvas. The graph you will end up with is interactive! Hover over different segments and overlapping sections to learn more about niches within your broader audience. The table below your new diagram shows the data upon which the graph is built.
This example from Google shows what it might look like if you created a segment overlap exploration to see where new users, mobile traffic, and converters user segments converge:
11. If desired, you can now export and/or share your exploration. In the upper right corner of your canvas is what looks like a download button. This will give you options to export your data in a variety of ways.

You’ll also see a humanoid icon that enables sharing. This button shares the exploration with all other users who are already part of this Google Analytics property. Shared explorations are read-only. Folks who receive your share will have to go to their primary Explorations page (step 1 above), find the exploration you’ve shared (it’s just below the templates), and use the dotted menu to duplicate the exploration. This will create a new version, which they can use and edit in any way they please.

Explorations in GA4 are worlds more thorough than the Universal Analytics reports many of us have become very used to. And while that means great things for your depth of understanding around your audience and your digital properties, it’s obviously going to take a good chunk of time and work to get set up and get used to.
If you don’t have that kind of time and energy to spare at the moment, consider getting some help from DreamHost’s team of marketing pros.
Schedule a marketing consultation or start a chat on our marketing pro services page to see how we can help you grow and succeed in business.

Get More Visitors, Grow Your Business
Our marketing experts will help you earn more traffic and convert more website visitors so you can focus on running your business.
Learn More
