Busting out of the “traditional” career path and creating a shop that enables you to become your own boss can be thrilling.
That said, this road is famously not without its ups and downs.
There are the taxes to figure out. (When did we get so bad at math?)
Then there’s being responsible for your own schedule. (Starting at noon is fine, right?)
And then there’s translating your wonderful idea for a brand and business into an online store that delivers on modern consumer demands.
Fortunately, we live in a time when getting an e-commerce shop off the ground is pretty doable.
In fact, we know launching your product ideas onto the web and into a vast pool of potential customers can be done in just a handful of steps.
Which we’ll walk you through. Right now.
10 Steps To Create an Online Store and Become Your Own Boss
Starting an online store can be an exciting path, but for best results, it’s essential to have a clear plan to guide your journey.
In this section, we’ll walk you through 10 crucial steps for building a successful e-commerce business — from the very foundation of drafting your business plan to finally launching and promoting your store once it’s up and running.
Step 1: To Build an Online Store That Will Last, Draft a Business Plan
The first part of starting a successful business — and subsequent e-commerce shop — is developing a business plan that fully outlines what you’re going to sell, who you’re going to sell it to, why, and how.
This guiding document isn’t just critical for keeping you and any future staff accountable and on track, it’s also super valuable if in the future you decide you want to strike out and seek funding from interested investors.
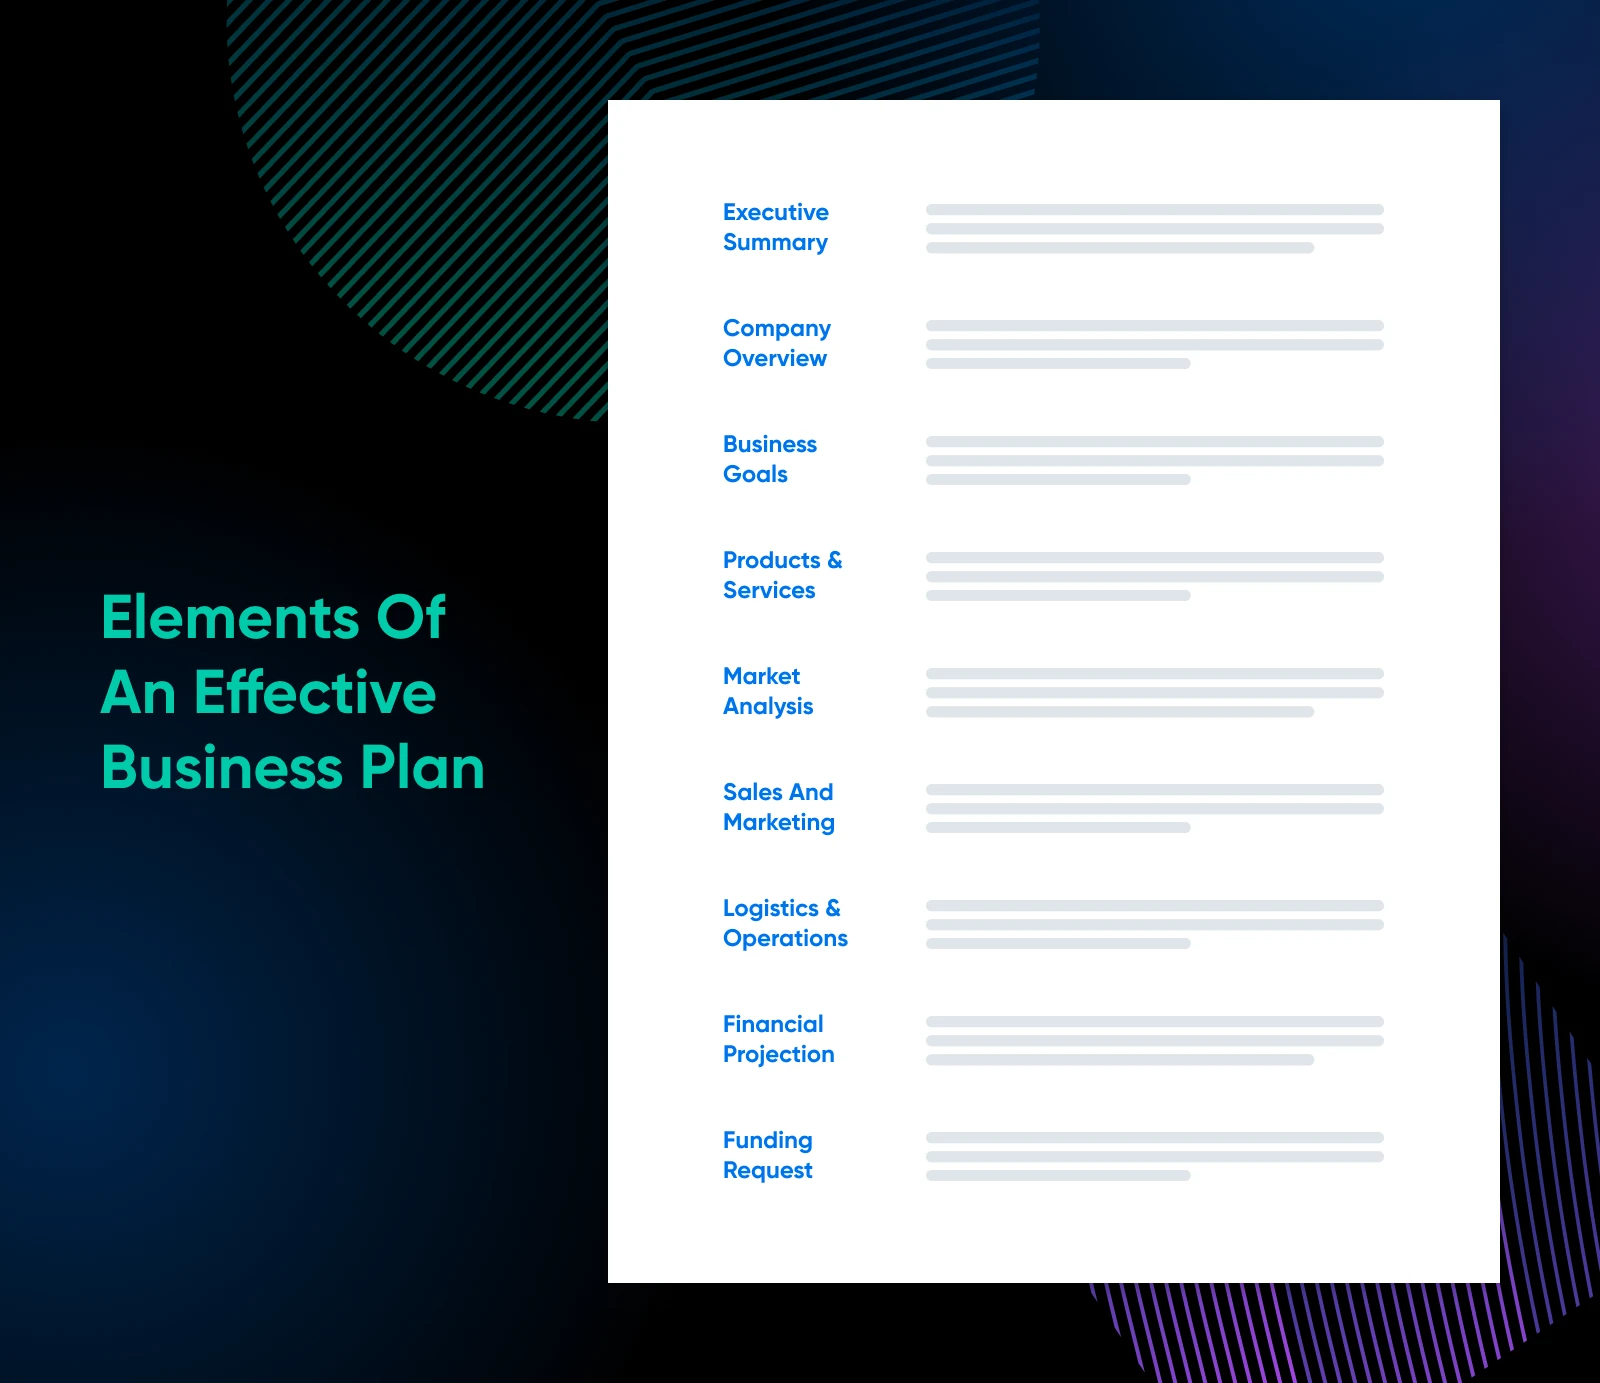
Even if you already have an established brand and have made some sales, a fresh business plan is a great idea as you venture into the entirely new environment of online sales.
Once you’ve got a solid plan in place, you should be feeling nice and prepared to make things a reality by setting up your online store and starting to sell your wares.
Step 2: Select Website Builder, Web Host, and Domain Name
Some key ingredients of an online store, or any website for that matter, include: a hosting provider, a domain name, and a plan or platform that will actually allow you to build the dang thing.
Your web hosting provider will store your website’s files, your domain name provides an address where customers can find your store (ours is dreamhost.com for example), and your online store builder of choice will make it easy for you to, well, build your online store without any design or development experience.
We recommend going with WordPress for your e-commerce website builder. If you do, you probably also want to consider a hosting plan built specifically for WordPress. These plans are specifically designed for the platform, and the servers they operate on are optimized as such. Our shared WordPress hosting plans at DreamHost, for example, are ideal for new WordPress sites.
A lot of hosting providers also offer domain registration. Again, at DreamHost, we can also help you come up with, and register your domain name.
With those important choices made, let’s get into the nitty gritty and start getting that store spun up!
Step 3: Build Your Online Store
Many WordPress hosting plans come with the platform built-in or ready-to-go with a simple one-click installation option. However, in some cases, you may need to install WordPress manually.
However you get it set up, once you’ve got WordPress up and running, next you’ll want to activate a robust online store platform from WordPress’ many plugin options.
Choosing Your WordPress Add-On Builder
There are two main paths we recommend here.
First comes Ecwid by Lightspeed, a modern, cloud-based ecommerce platform tailored for small to medium-sized businesses. It offers quite a simple setup process and better seamless integration with anywhere else you already sell — from existing websites to social media channels to marketplaces.
Our favorite benefits of Ecwid? Oh there are plenty:
- Set up is user friendly: Ecwid is quick and easy to set up (in WordPres and beyond!) with no technical skills required.
- Integration is seamless: Add full ecommerce functionality to any existing website, without requiring a redesign.
- Multichannel sales are unified: Enable selling across websites, social media platforms, and marketplaces like Facebook, Instagram, and Amazon — all managed through a single dashboard.
- Security comes built in: Enjoy automatic security updates and server maintenance for worry-free operation.
Who does that make Ecwid ideal for? Smaller businesses looking for a fast, easy-to-use, and low-maintenance ecommerce solution with seamless integration.
Next up, WooCommerce, a plugin that provides extensive customization options, allowing you to turn a WordPress site into a fully functional online store.
WooCommerce users can enjoy lots of benefits, such as:
- Excellent customization: WooCommerce offers extensive customization options with a wide range of themes and extensions to tailor your store to your exact needs.
- Big-time scalability: High scalability makes this plugin suitable for businesses requiring advanced features as they grow.
- Ultimate control: Get full control over your store’s data, design, and functionality.
- Great community support: Backed by a large community, you’ll enjoy abundant resources, tutorials, and support with WooCommerce.
Altogether, WooCommerce is a fit for larger or growing businesses that need to prioritize customization, expansion, and above all control as they go.
WooCommerce
WooCommerce is a WordPress plugin designed for e-commerce needs. This tool can enable website owners to start selling products in a flexible, customizable online store.
Read MoreBest news? Both solutions work perfectly alongside our new online store plans at DreamHost — which guarantee you excellent speed, uptime, and support around the clock.
Install Your Storefront
Whichever you choose, you’ll install it via your WordPress admin. Start by navigating to Plugins > Add New Plugin in the left-hand menu.
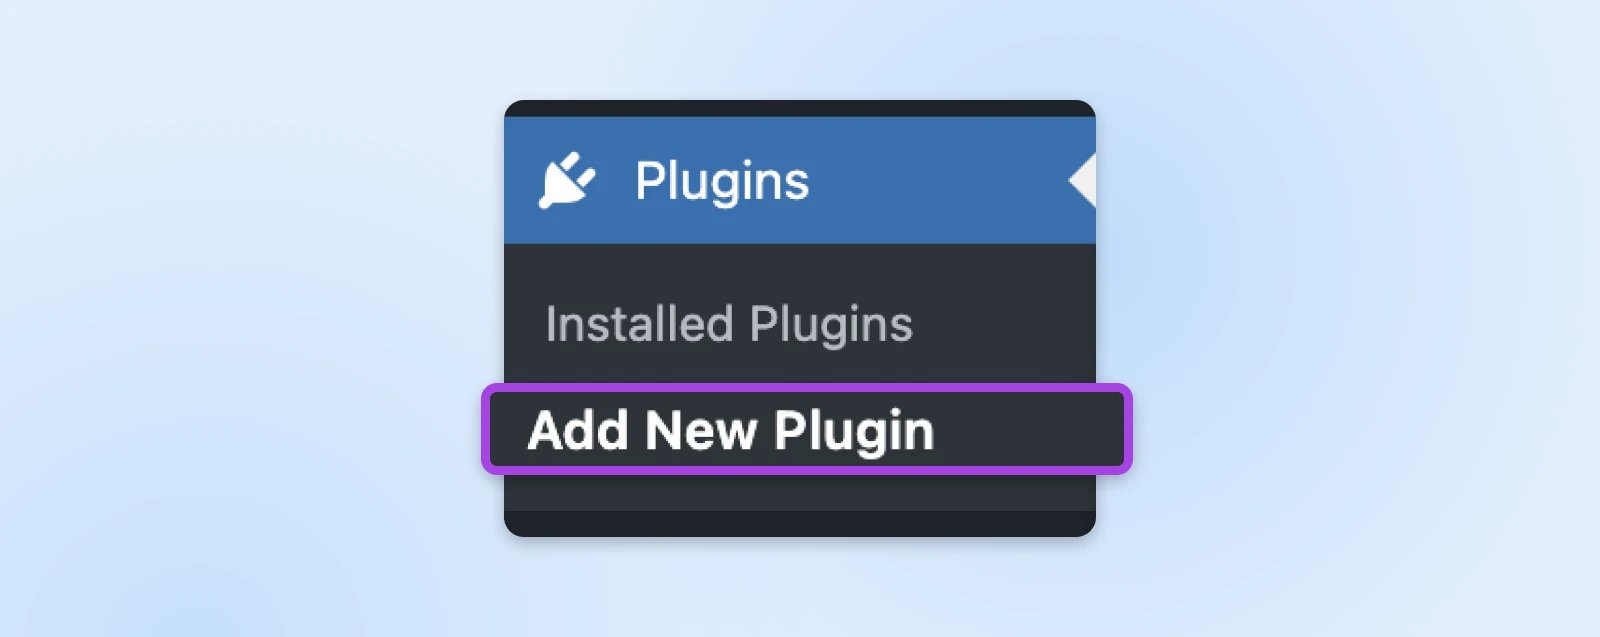
Search for either Ecwid or WooCommerce and use the Install Now button. Finally, hit the Activate button once it’s available — and your plugin is ready to roll! (For even more deets, check out WordPress’ helpful guide to managing plugins.)
Now, back over in that left-hand menu, visit your new plugin, and let it guide you through configuring your online store. For extra support, don’t miss the helpful setup instructions from Ecwid or WooCommerce.
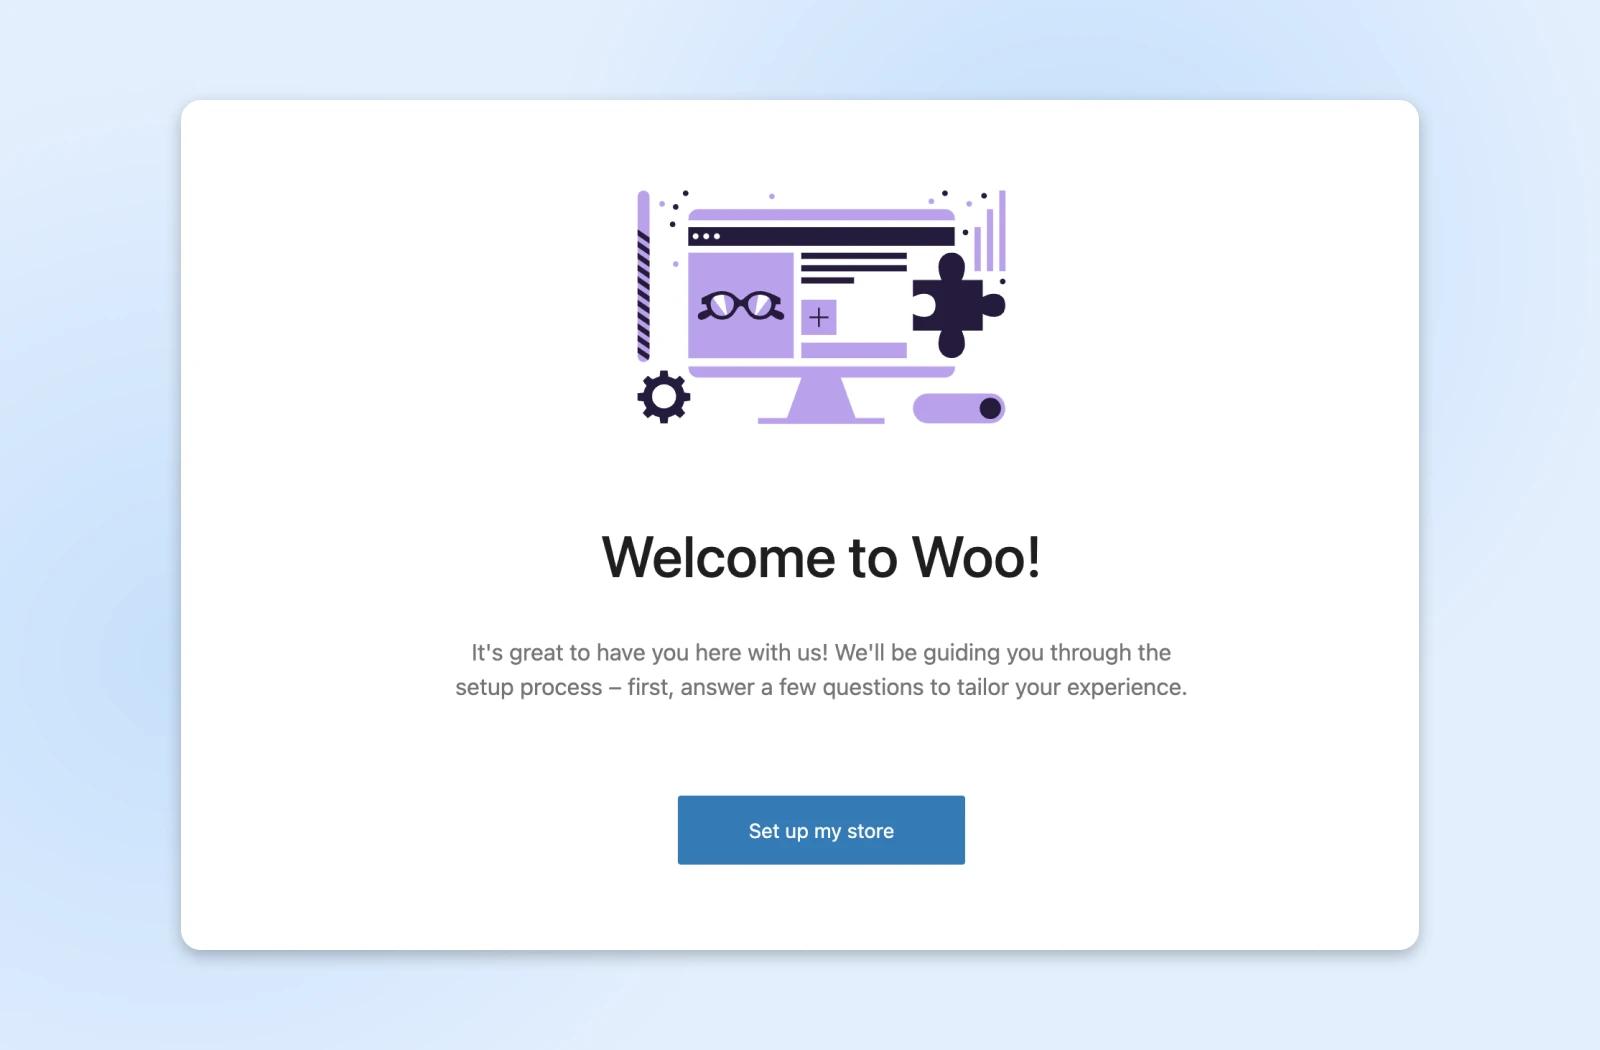
If you don’t have all the required information or time to complete the setup immediately, we recommend filling in the fields as much as possible and returning to this step later if needed.
Step 4: Identify Your Value Proposition
As you move on to fleshing out your e-commerce store, you’ll need content on every page and for every product.
In order to create content for your e-commerce business that has the potential to actually engage and convert visitors, it all starts with identifying and writing out your value proposition. This is a statement explaining the mission and value of your small business and its products.
Two of the most important questions your value proposition should answer are:
- What problem do my products solve for customers?
- What makes my approach to this problem unique compared to other similar businesses?
Establishing your value proposition now should help you keep creating great, value-reflecting content for your brand, whether it’s for your website, blog, social media, or beyond.
We suggest sharing your value proposition somewhere on your website. Most companies do this on an “About” page. Here’s how we display ours.
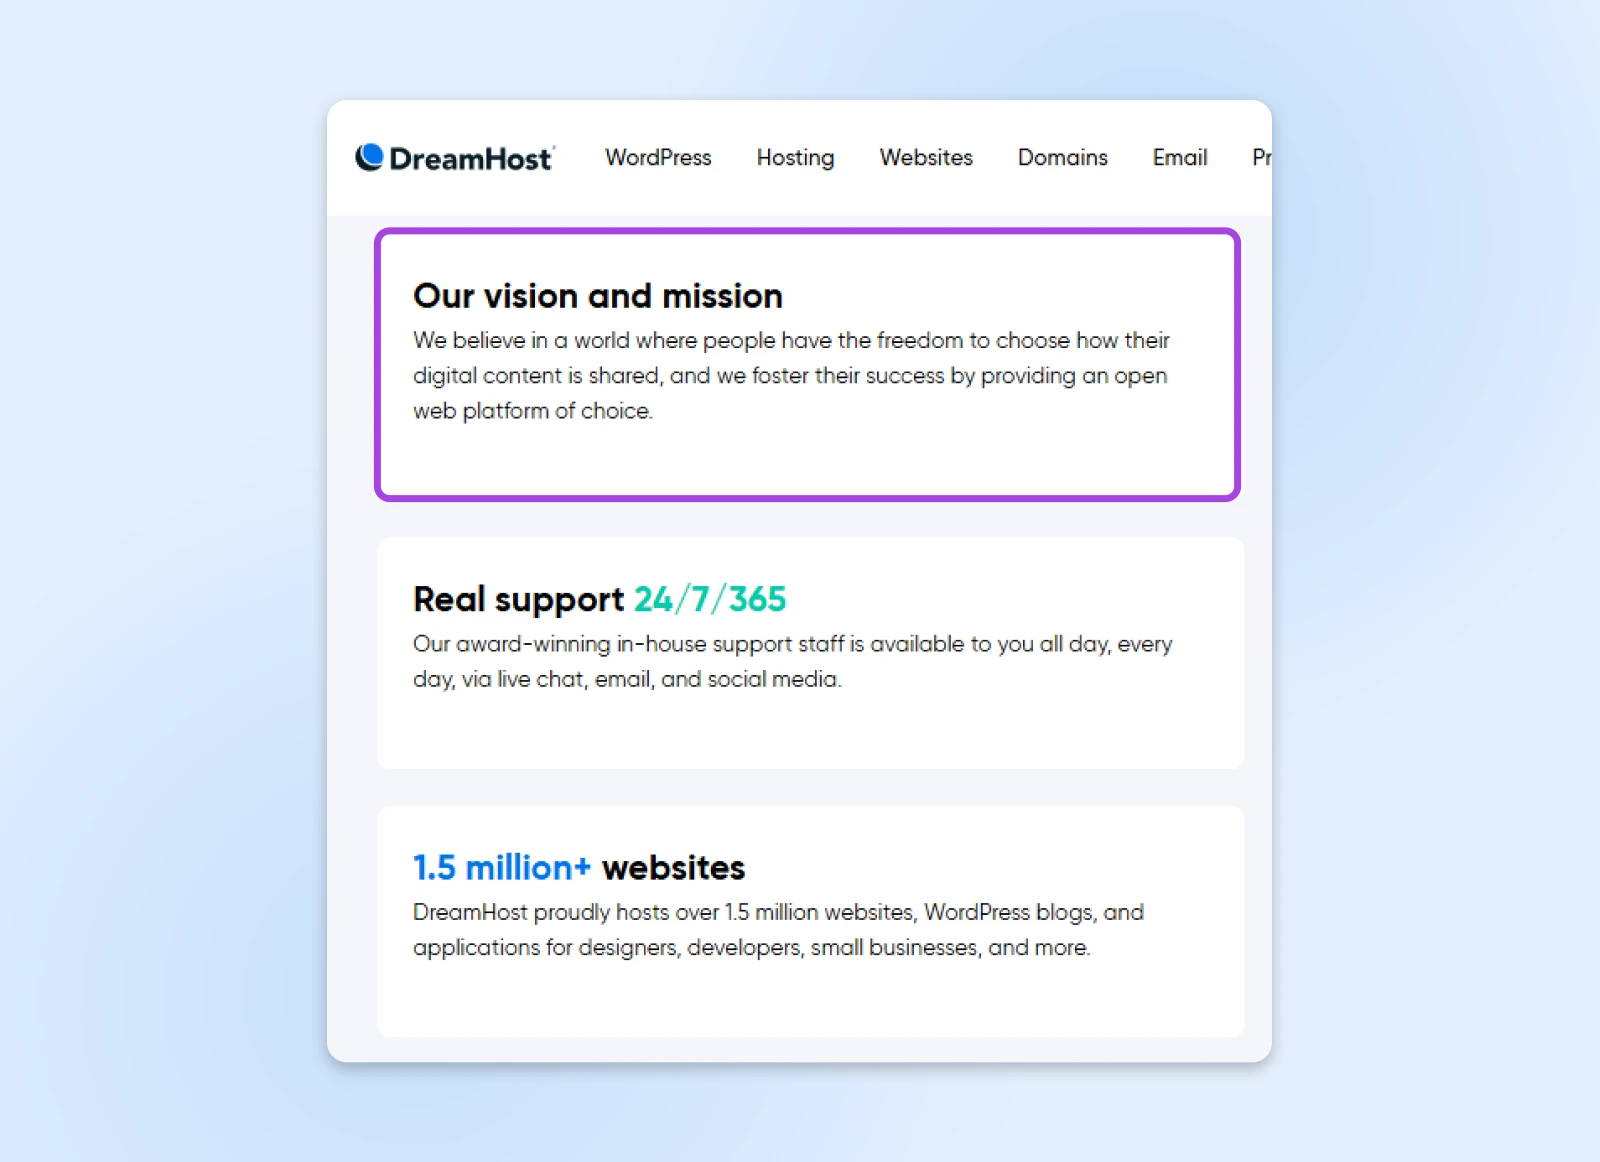
Sharing your values with customers can help demonstrate why your product is relevant to them. Plus, you might win over customers who might have otherwise purchased from your competition!
Step 5: Create Your Product Pages
With your guiding principles documented around content, you can go back to setting up more elements of your online store. We’ll start with products.
There are two elements we really want to make sure you prioritize at this stage for maximum conversions: product photos and descriptions.
Taking Quality Product Photos
Showcasing your products in their best light (quite literally) is crucial. Unprofessional, low-quality photos can make your site seem a little sketchy, which will discourage customers from opening their wallets.
As such, make sure your product photos are well-lit and taken in front of the right background — whether that’s clean and bright or statement-making is up to your brand. If you can, take pictures from a variety of angles and include some close-ups of unique details to help catch customers’ eyes.
Once you have your product photos, optimize them with a plugin such as ShortPixel or Optimole before uploading them to your site. This will help prevent large media files from slowing your site down.
Writing Captivating Product Descriptions
You’ll also want to write product descriptions carefully to help convince site visitors to add something to their shopping cart and become paying customers. Keep your value proposition in mind when you’re drafting these, and point out information about how the product will benefit customers.
It’s also vital to make your description easy to scan, as skimming content has become more popular over the years. While using formatting techniques such as bullet points and subheadings, keeping paragraphs short can convey more information than a brutal wall of text.
Step 6: Configure Your Tax Settings
In the U.S., each state has laws regarding sales tax for internet-based retailers. It’s not a bad idea to talk with a tax attorney before your business gets up and running, but at the very least, familiarize yourself with tax laws in your area.
Both Ecwid and WooCommerce have guides for getting taxes configured in their settings.
Things can get a little complex here, and you’ll have some decisions to make. We again recommend speaking with a tax professional at this phase!
Step 7: Specify Your Shipping Methods
Shipping is a make-or-break aspect of running an online shop.
As such, again, both WooCommerce and Ecwid make it easy to check all your boxes with super robust guides to not just understand all there is to know about shipping, but also getting it set up accurately for your online store.
Step 8: Decide Which Payment Gateway to Offer
Finally, we’re just about done with the granular stuff!
Both WordPress add-ons empower you to accept all kinds of payment methods.
Follow the WooPayments documentation to learn how to set up the platform’s payment processing system that works with lots of the most popular payment forms like Visa, Discover, and more. WooCommerce payment extensions will open you up to even more options like Stripe, Square, and so on.
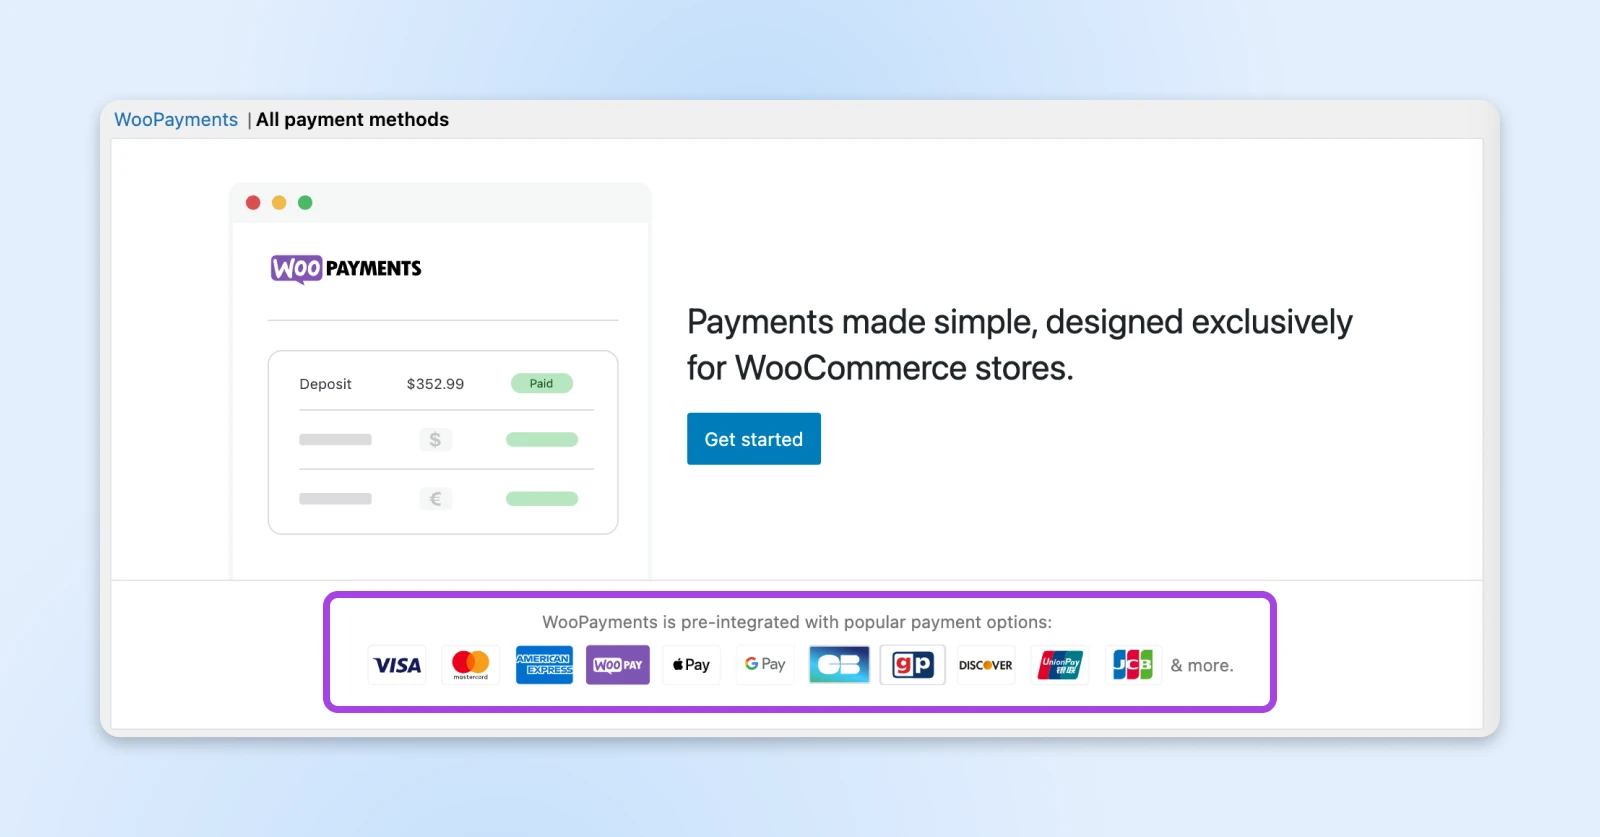
With Ecwid, you can also accept various online, manual, and recurring payment solutions that enable you to open your shop up to customers around the world if you so choose. Learn about all your options and how to turn on your favorites by following along with Ecwid’s introduction to payments series.
The payment gateways you decide to offer are ultimately up to you, and you’ll want to choose based on familiarity, ease of use, and transaction fees. However, it’s also important to consider your customers, as these criteria are also their primary concerns.
Step 9: Maximize Your SEO
You’re almost ready to launch and welcome customers to your store!
But first, they need to be able to find it on the big, bad internet.
Search engine optimization (SEO) is the answer. By optimizing your content and your overall website for search engines, you’ll make it more likely for customers to find you while searching for products like yours online.
While we linked our whole, robust guide to SEO above, here are some quick tips to get you thinking about this task:
- Incorporate relevant keywords: Use keyword research tools to find keywords that align with what your audience is searching for. Place them strategically in titles, meta descriptions, and throughout your content, ensuring they flow naturally.
- Build internal/external links: Link to other pages within your site to enhance navigation and link to authoritative external sources to build credibility and improve SEO.
- Create a sitemap: A sitemap helps search engines crawl your site more efficiently, ensuring all your pages are indexed properly.
- Write high-quality content: Create valuable, engaging, and informative content that addresses the needs of your audience, which can also lead to higher rankings.
- Keep content fresh: Regularly update your site with new, relevant content to maintain user interest (and signal to search engines that your site is active!).
- Practice ethical backlinking: Build backlinks from credible, high-authority sites through organic means like content sharing and partnerships. Avoid tactics like buying links.
- Guest post: Contribute valuable content to other reputable websites to increase visibility, generate backlinks, and reach new audiences.
In addition, WordPress plugins can again help. All in One SEO (AIOSEO) is a popular, fully-featured, and affordable plugin that can help you with various elements of SEO.
Step 10: Promote Your Site
While you can keep refining your e-commerce website ad infinitum, once you’ve followed all of the above steps to build a solid foundation, it’s time to go live!
The next and final step — until your next website redesign of course! — is getting the word out that your business is online and your shop is ready to rock.
Building a social media strategy and developing an email marketing program are both great ways to get the word out and help get you started.
Bonus: Skip Ahead With Our Liftoff Website Builder
It’s not that all of the above steps are insurmountable, it’s just that they require a certain measure of time and care. And when you must move quick, fast, and in a hurry – sometimes DIY from scratch just won’t do!
For those cases, we created Liftoff.
Like its name indicates, our website builder can help you go from blank screen to live site literally in minutes.
When you sign up for a DreamHost hosting plan that includes access to Liftoff, the platform’s robust AI can build your website for you. Enjoy engaging text, beautiful design and imagery, complete customization, and limitless flexibility all within WordPress so you enjoy the speed and security every website deserves.
If the above steps are holding you back from even getting started, consider skipping to the end and trying out the DreamHost AI website builder to get up and running ASAP.
Common Mistakes To Avoid When Building Your E-commerce Website
Obviously, we just focused a lot on all the things you should do to build up a great e-commerce website and presence for your brand.
But what if you’re left wondering about whether a few habits are harmful to your success?
So, let’s flip-turn the convo and chat about some e-commerce no-nos for beginners.
Ignoring Mobile Optimization
Considering that the vast majority of adults in the U.S. have made purchases via their smartphones, failing to optimize your online store for those mobile-using consumers can make it difficult for visitors to navigate, browse products, or complete purchases. This can significantly impact (read: tank) sales and customer retention.
No Need for Speed
We probably don’t have to convince you that slow-loading websites are frustrating.
The longer a shopper waits for your site or page to load, the more likely they are to bounce away — And possibly land on a competitor’s site.
Modern customers expect fast load times. Delays can cost you sales, but did you know they can also damage your SEO rankings? Understand and work to meet the need for speed with our guide: “Everything You Need To Know About Speeding Up WordPress.”
Setting Up a Complicated Checkout Process
A checkout process that is multiple pages long, asks for tons of unnecessary information, or is just outright confusing in any way can waste your ad spend and increase cart abandonment rates.
Running a successful store requires balancing making your checkout steps as simple as possible while still offering all the payment, shipping, and other checkout options shoppers expect.
Providing Inadequate Support
If you’re an individual store owner or operator, it’s hard to keep up with customer support. However, it’s also important to realize that customers expect quick help when they face issues.
To keep up, invest in some automation tooling —such as chatbot software — to help you solve the easier inquiries. Social media monitoring, an accessible and searchable knowledge base, and a customer support ticket app are more tech solutions that can help you stay on top of everything.
Not Tracking Your Success
Without tracking your site’s performance using analytics, you won’t know how amazingly you’re doing! Or, where improvements can be made.
Learn how to use Google Analytics to monitor key performance metrics and optimize your store for the best results.
Setting and Forgetting It
Last, but not so least-ly, understand that building an e-commerce store is not a one-time job.
Being able to manage your online store successfully means being able to keep up with the times as trends, user behavior, the market, and even your own offerings shift and change.
Measuring (using your analytics again!) and iterating on your content, website, products, and marketing program is core to ensuring your online business remains competitive and meets customer expectations.
Start an Online Store and Start Selling More Today!
No one said becoming a small business owner would be easy. Admittedly, there’s a lot of work that must go in before you can reap all the rewards.
However, with the help of all the above tactics and tips —hopefully, we’ve made many of the tasks required to get your e-commerce site up and running more accessible and doable.
Ready to build an online shop from scratch, or take your brand online to boost sales and growth?
At DreamHost, we’re all about turning those business dreams and goals into reality. Engage our affordable but robust hosting packages, team of supportive pros, and smart website builder to get started selling online anywhere — anytime.

Your Store Deserves WooCommerce Hosting
Sell anything, anywhere, anytime on the world’s biggest eCommerce platform.
See PlansThis page contains affiliate links. This means we may earn a commission if you purchase services through our link without any extra cost to you.

