
If you’ve spent much time reading up on WordPress, chances are you’ve heard about GitHub. It’s the world’s largest developer platform — home to more than 180 million developers, per GitHub’s 2025 Octoverse report — and the default place to host projects and collaborate with others. Maybe you’ve even considered trying it out yourself but don’t know where to start.
The time has come to familiarize yourself with this invaluable WordPress resource. GitHub is an excellent platform for tracking, managing, and collaborating on development projects, so it’s well worth learning how to use. It enables you to host projects online and use the powerful version control of Git to keep track of every change.
An Introduction to GitHub
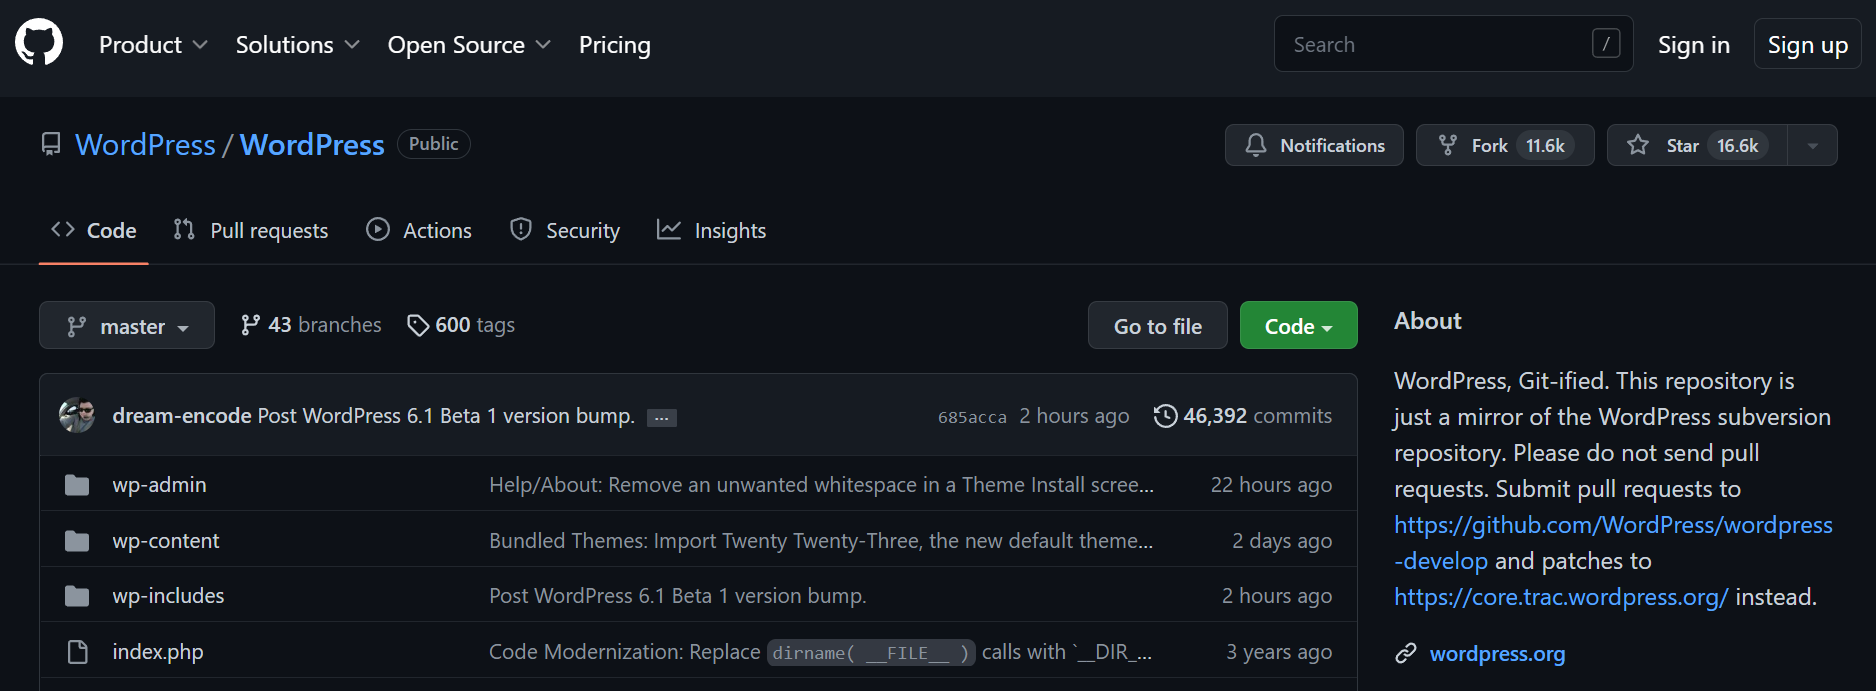
GitHub may look overwhelming if you’re a newcomer, but at its core, it’s actually pretty simple. GitHub is a cloud platform where developers store code, track every change with Git version control, and collaborate on shared projects. Free accounts include unlimited public and private repositories, and its primary use is hosting projects so other people can contribute to and download them:
As the name implies, GitHub is built around the functionality of Git. This is a version control system that tracks all changes made to a project. What makes this system so powerful is how comprehensive it is. Since Git keeps track of every file and change in your project, it enables you to revert quickly to any previous version.
Git also lets developers create ‘branches’, which are copies of a project that you can work on independently. Creating branches gives you the opportunity to make and test changes without affecting the whole project. You can then ‘merge’ your changes into the main branch if you want or simply discard them.
These features are key to understanding why Git and GitHub are so invaluable to developers. You don’t have to worry about causing irreparable damage to a project, for example, since you can always create branches and roll back all revisions.
Plus, it’s easy to collaborate on a project with a potentially unlimited number of users. You can even browse WordPress core’s mirror on GitHub — and the Gutenberg editor is developed there natively.
Getting Started with GitHub
Before you can start using GitHub, you’ll need a system for using Git and GitHub together. First of all, you’ll need to download and install Git on your local machine. You’ll be using it to perform crucial GitHub related-tasks, such as transferring files between your computer and your GitHub repository.
GitHub is only the host for the project, so all the actual development happens on your local machine. Git then uses ‘repositories’ to store each project.
This might sound confusing, in theory, so let’s look at a typical workflow:
- You have a project hosted in a repository on GitHub.
- You create a local repository and use Git to ‘pull’ in the latest version of the project from GitHub.
- You can now work on the project on your local computer. When you have made changes, you can ‘push’ them back into the GitHub repository.
How you decide to structure your specific workflow depends on your preferences and the project’s requirements. The important thing is that your process works smoothly for you, your project, and your collaborators.
Finally, to get the most out of Git, you’ll want to use the command line. You’ll drive Git from there, and it can talk to GitHub over HTTPS or Secure Shell (SSH). If you don’t already know how to use the command line, we recommend that you familiarize yourself with the process before getting started.
How to Use GitHub for WordPress Development (In 7 Steps)
Now, it’s time for you to try out GitHub development for yourself! In this example, you’ll be creating a GitHub project for developing a WordPress theme. We’ll show you how to create a GitHub account and two repositories before showing you how to transfer your theme back and forth between them.
Step 1: Create a Local WordPress Environment
When you’re developing WordPress, it’s important to always use a staging environment. This gives you the freedom to try new things without worrying about how they will affect your live site.
In this case, you’re going to create a local staging environment by installing WordPress on your computer. You can do this in a few different ways, but we recommend using Local, which enables you to quickly create a local version of WordPress for free:
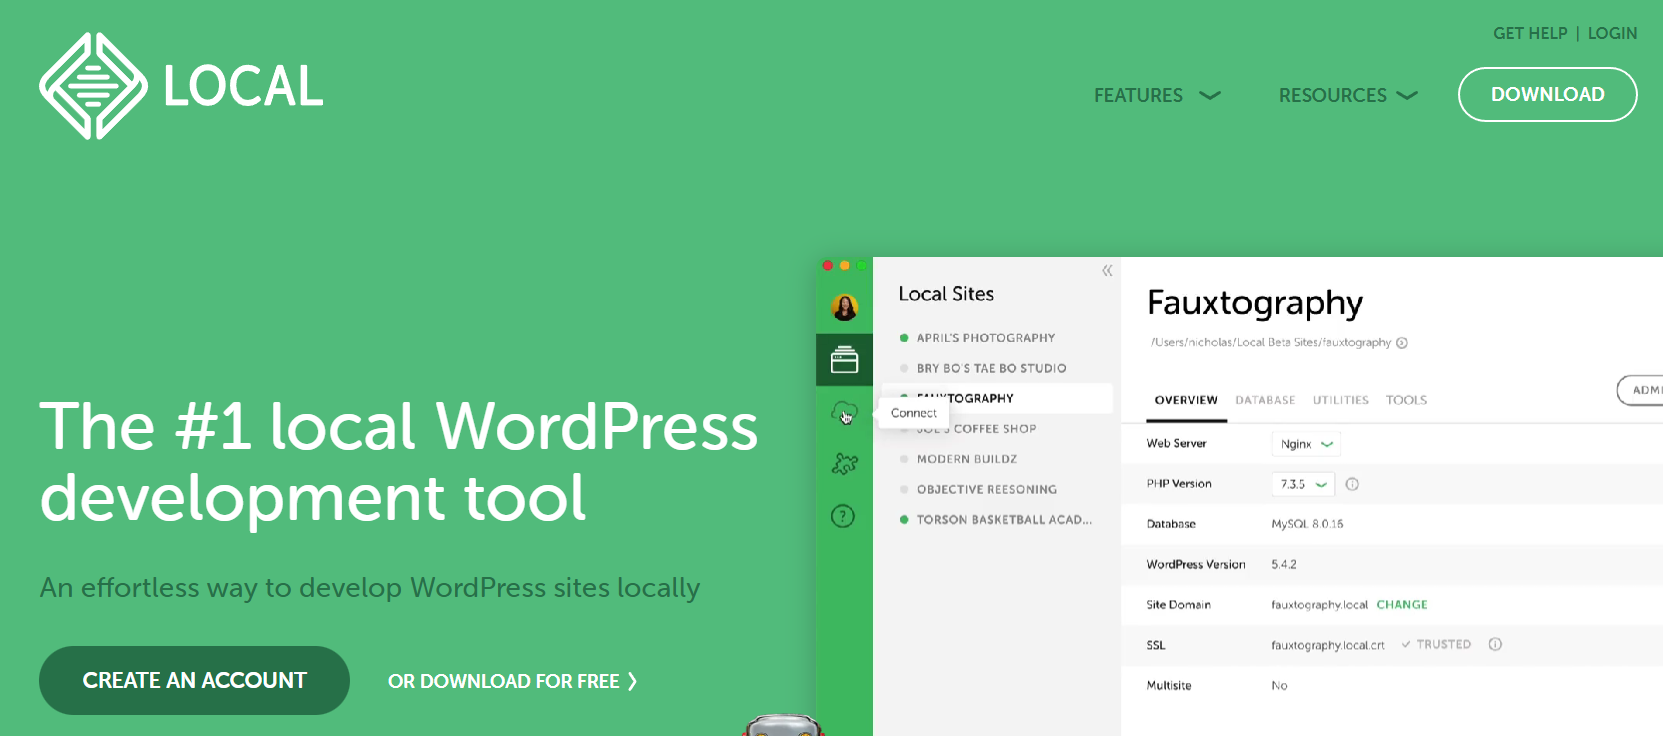
Simply select your platform and download the free version of Local. Then you’ll just need to run the installer.
The installer will take a moment to work. After it’s completed, you can create and configure a new local WordPress site, following Local’s getting-started guide.
Step 2: Install Git on Your Local Machine
It’s now time to install Git. If you are running a recent version of Mac OS, you might find that Git is already on your machine. You can check this by opening your command line interface, such as Terminal, and entering the following command:
git --version
If Git is installed, this function will return its version number. If not, you will instead be asked if you want to install it right away. You can also download the installer and run it manually for Mac, Linux, and Windows computers.
If you’re not comfortable with the command line interface, you might want to consider downloading a Git GUI application instead. However, for this example, we’re going to use the standard command line method. Either way, once Git is installed, you’re ready to create a local repository.
Step 3: Create a Local Repository for Your Project
You can now create a local Git repository for your project. In this example, we’ll use the Twenty Twenty-Five theme, which should already be included in your local WordPress installation.
First, you’ll need to access the theme’s folder using the following command:
cd /Users/you/Documents/Websites/website/wp-content/themes/twentytwentyfive
Make sure to change this file path so that it leads to the right directory by replacing you and website with the correct folder names. You can now initialize this directory as a repository with the following command. The -b main flag names your default branch main, matching GitHub’s default (it needs Git 2.28 or newer — if it errors, run git init and then git branch -M main):
git init -b main
Next, you’ll need to add your files to the index. This process tells Git which files you have added or edited since the last time you performed a commit (in other words, saved your changes).
Since this is the first commit, you can use the following command to add every file in the folder:
git add .
One quick setup step if this is your first time using Git on this machine: tell Git who you are, or your first commit will fail with an “Author identity unknown” error. Run git config –global user.name “Your Name” and git config –global user.email “you@example.com” once, and you’re set for good.
You can now commit your changes. The following command will commit all files in the index and include a message to help you keep your versions organized:
git commit -m "The first commit"
You have now finished configuring your local repository! That means it’s time to turn your attention towards GitHub.
Step 4: Register a GitHub Account
At this point, you’ll want to create a GitHub account. Start by accessing the GitHub homepage and filling in the registration form:

Heads up: the interface screenshots in this guide come from an earlier GitHub design. The current screens look a little different, but the flow is the same.
The signup form walks you through entering your email address, creating a password, picking a username, and verifying the account. Every new account starts on the free plan.
You’ll then be taken directly to your GitHub dashboard. If you want to know more about the basics of using GitHub, we recommend taking some time to work through GitHub’s Hello World guide. For now, however, we’re going to create a repository.
Step 5: Create a Repository on GitHub
You’re finally ready to create the GitHub repository for your project. This is a fairly simple process and only requires you to configure a few settings. Let’s start from the top.
To get started, click the green New button next to your repositories list (or the + icon in the top-right corner, then New repository):
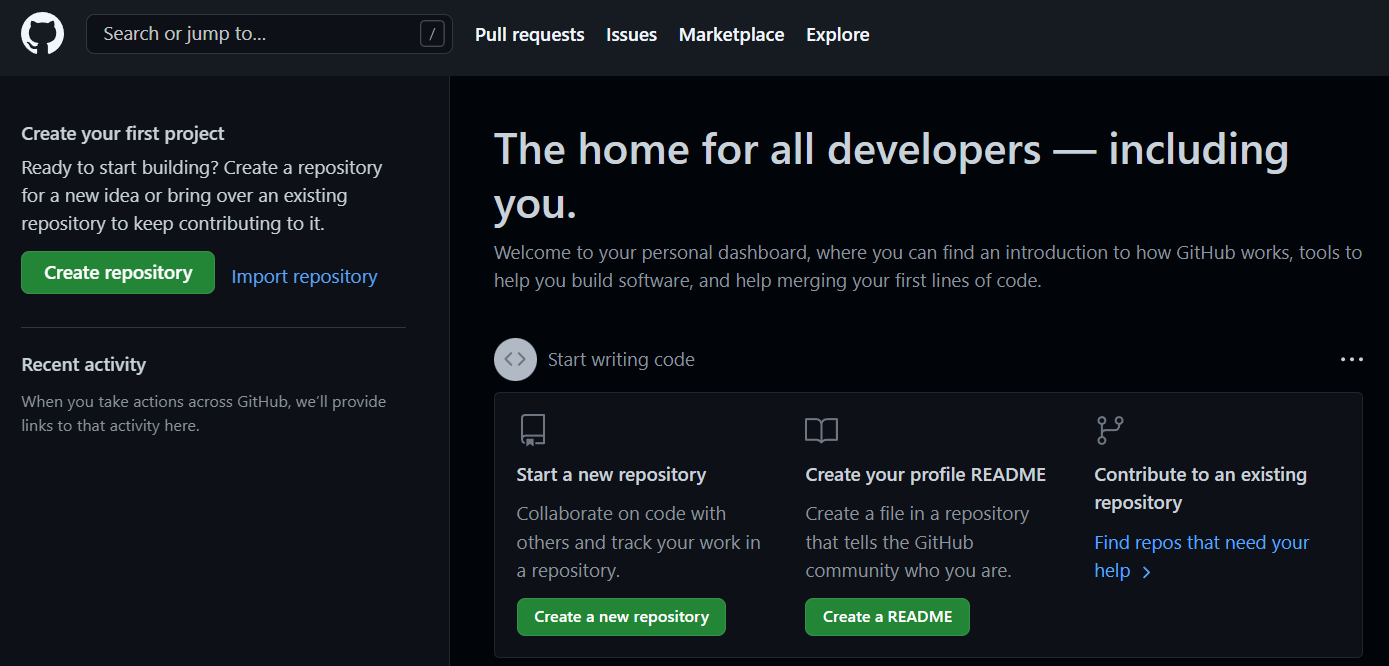
First, you can select the repository’s owner, which is effectively the admin for the repository. This should already be set to yourself, so you can leave it as-is.
Next, you’ll need to give your repository a descriptive and concise name. You may want to name it after the plugin, theme, or other project you’ll be working on.
After that, you can enter a description of the project. Again, this should be specific and descriptive so that other developers and users can understand what it is you’re creating.
You can make the repository public or private — free accounts include unlimited private repositories. For a theme you plan to share, public is the natural choice. You’ll also be given the option to initialize the repository with a README file. Since you already have a local repository in place, you shouldn’t select this option now. However, it’s handy for future projects.
Finally, you’ll see two drop-down menus at the bottom of this screen. The first enables you to select a gitignore option if you want Git to ignore certain files. If you ever version a whole WordPress install rather than a single theme, the classic entries are wp-config.php (it holds your database credentials) and the uploads folder. For a theme repo like this one, build artifacts and node_modules are the usual candidates.
The second option lets you choose a license for your repository. When you’re creating a real project, it’s important that you carefully consider what license to use. WordPress has very specific rules about licenses, which you’ll need to be aware of when developing for the platform.
For now, you can simply choose None from that menu and then click on Create repository to finish setting things up.
This will take you to your new project, which means it’s time to add your theme.
Step 6: Push Your Project to GitHub
You can now push your theme to GitHub. First, set up authentication: GitHub stopped accepting account passwords for Git operations back in 2021. The smoothest option is the GitHub CLI — run gh auth login once and it signs you in through your browser and stores the credentials. Alternatively, create a personal access token to paste when Git prompts you, or set up an SSH key.
Then enter the following commands, making sure to replace the URL with a link to the repository you just set up:
git remote add origin https://github.com/yourusername/my-git-theme.git

git push -u origin main
Once the push completes, all the files you have committed to your local repository will appear in your GitHub project.
If you return to your GitHub repository, you will see that all files have been added to it.
Step 7: Pull Updates from GitHub to Your Local Repository
You now have two repositories set up, and you know how to push changes from your local machine to the GitHub project. The final step is to flip this process and learn how to pull data from GitHub to your local installation.
If you’re working alone on a project, you’ll rarely need to worry about doing this. However, it becomes necessary if other developers are pushing their changes into the external repository as well.
You can do this easily by using the pull command:
git pull origin main
This fetches the latest changes from GitHub and merges them into your working files, so your local repository matches the remote. (Its quieter cousin, git fetch, downloads changes without merging them — useful when you want to review before applying.) When you start collaborating for real, you’ll usually work on a branch and open a pull request on GitHub, so changes get reviewed before they merge into main.
With that done, you have successfully created a new GitHub project for a WordPress theme! At this point, feel free to continue experimenting with these tools to see what you can accomplish.
Bonus: Getting Your Code to a Live Site
This tutorial ends at GitHub, but production is one step further. The modern pattern is a small GitHub Actions workflow that connects to your server over SSH or SFTP and copies your theme up whenever you push to main — no more dragging files around in an FTP client. If your host provides SSH access (DreamHost plans do), you can wire this up in an afternoon.
GitHub and WordPress FAQs
Is GitHub free for WordPress development?
Yes. GitHub’s free plan includes unlimited public and private repositories, collaborators, and enough Actions minutes for small projects. That covers theme and plugin work comfortably. Paid tiers add team management and more automation minutes.
Do I need the command line to use GitHub?
No. GitHub Desktop and most code editors (like VS Code) handle commits, pushes, and pulls visually. The command line is worth learning eventually (it’s faster and works everywhere), but it’s not a prerequisite.
Should I authenticate with a token or an SSH key?
Either works. SSH keys are set-and-forget on your own machine; personal access tokens work anywhere HTTPS does and are easy to scope and revoke. The GitHub CLI’s gh auth login is the simplest of all — it handles credentials for you.
Can I host my WordPress site on GitHub?
No — GitHub Pages serves only static files, and WordPress needs PHP and a database. Use GitHub to version and collaborate on your code, and a WordPress host to run the site itself.
Get Started With WordPress Development Using GitHub
Using GitHub for WordPress development gives you precise control over every change in your projects. By using Git’s powerful version control features, you’ll get access to each change, enabling you to easily revert to earlier versions of your files. Git and GitHub also make it easy for multiple developers to collaborate on the same project.
To start using GitHub for WordPress development, you’ll simply need to create a local WordPress environment, install Git, and sign up for GitHub. Then, you can create a local repository for your project and make a GitHub repository. Finally, you’ll need to commit your project to GitHub and pull updates back to your local repository.
Are you looking for a WordPress hosting provider that doesn’t get in a developer’s way? DreamHost plans include SFTP and SSH access, and our DreamPress managed WordPress plans handle updates, caching, and backups while you focus on the code.

Unbeatable WordPress Hosting
Reliable, lightning-fast hosting solutions specifically optimized for WordPress.
See More