
Some people say Elvis Presley was the greatest performer of all time.
We say the SVG file format is a close rival.
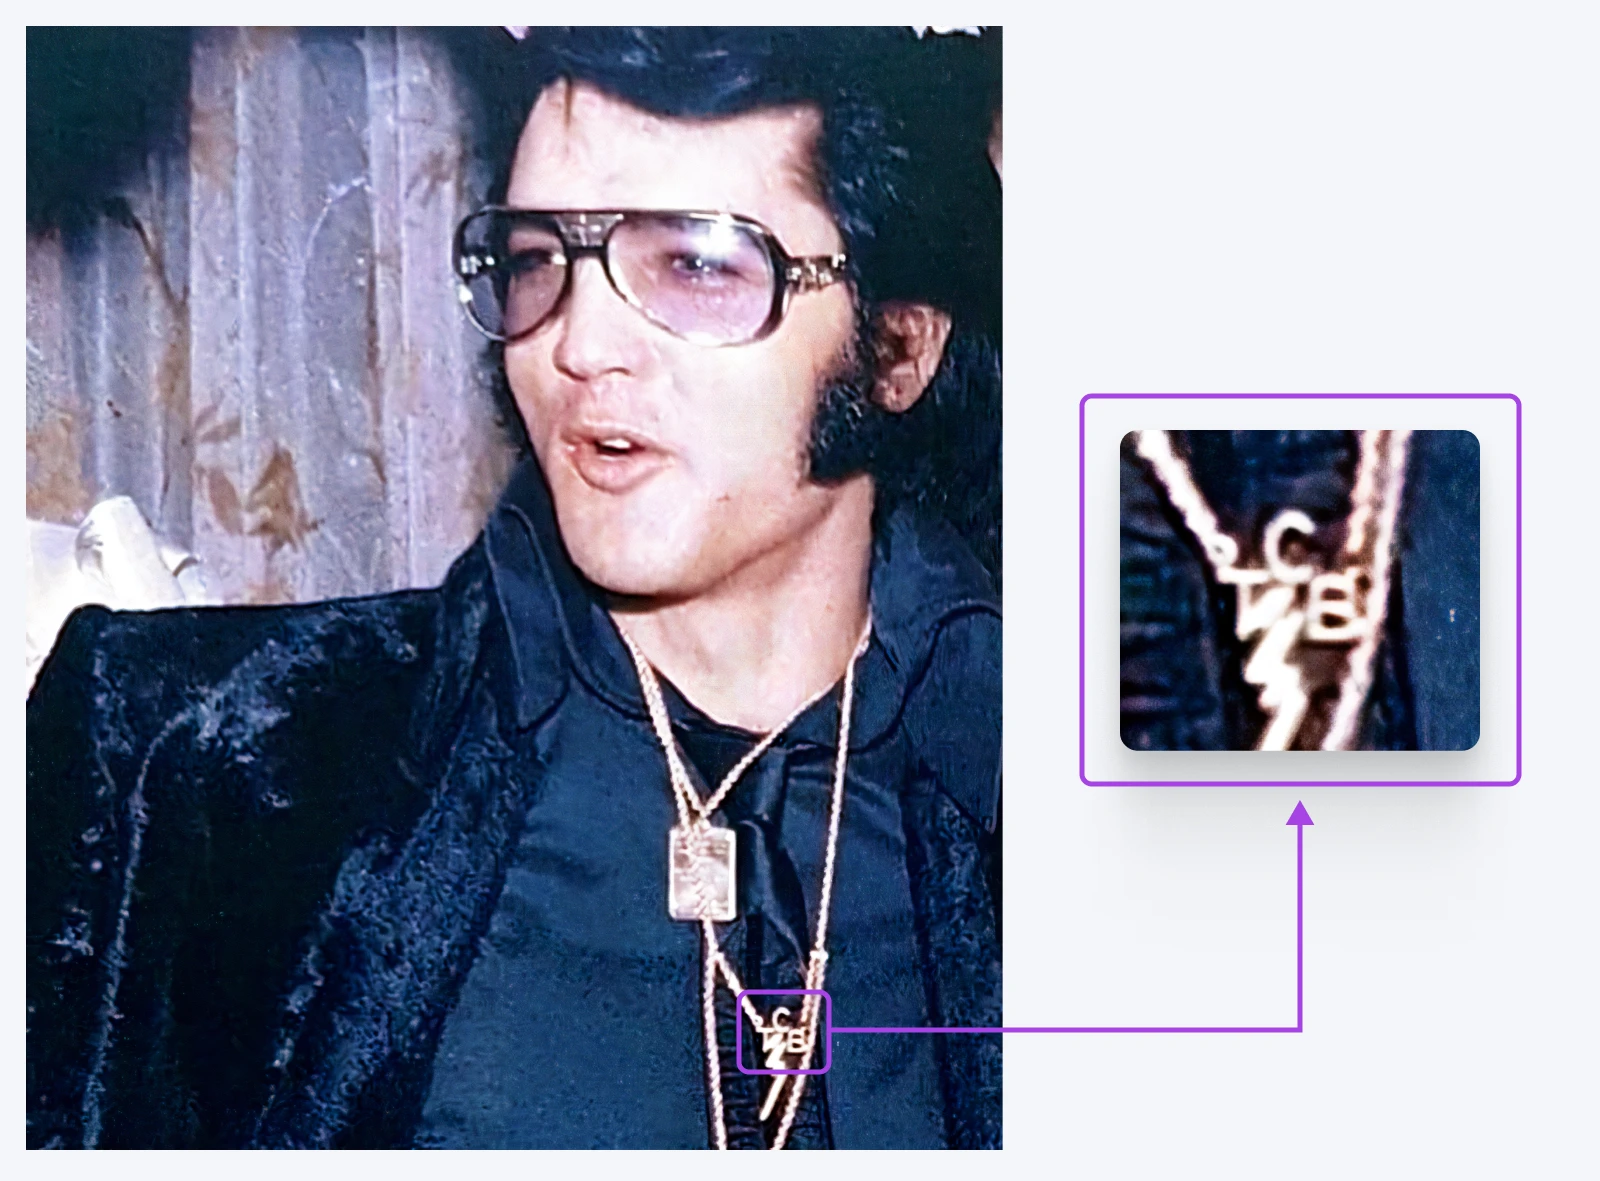
You see, Elvis always delivered. His personal mantra was, “Taking care of business,” abbreviated as TCB on his jewelry.
And you could say the same for SVG files.
SVG
An SVG file, or Scalable Vector Graphic file, is a file format that renders two-dimensional images. It describes how the image should appear using an XML text format.
Read MoreNo matter what project you’re working on, this image format will get the job done. These files are lightweight, scalable, and great for accessibility. You can even edit them using code.
Still need convincing? In this ever-so-readable guide, we take a closer look at the SVG format and explain how to use these files in your own projects.
Ready to get started? Let’s have a little less conversation, a little more action!
The ABCs of SVGs: Understanding Image Files
Say you’re building a website. You’re probably going to want some images.
Which file type should you use?
Your instinct might be JPEG or PNG. Maybe you’ll go wild and throw in some GIFs.

But…what’s the difference? Well, here’s a comparison of the usual suspects:
JPEG (Joint Photographic Experts Group)
- Pros: Smaller file sizes, great for complex images.
- Cons: Loses quality when compressed, no transparency.
PNG (Portable Network Graphics)
- Pros: Lossless compression, supports transparency.
- Cons: Bigger files than JPEGs.
GIF (Graphics Interchange Format)
- Pros: Supports simple animations, small file size.
- Cons: Limited colors, can look pixelated.
These formats might appear diverse. However, they are all examples of raster images.
Raster (or bitmap) images are painted with precisely placed pixels. They have fixed dimensions, colors, and shapes.
These file types are great for sharing images with a lot of detail, such as high-quality photos.
The downside is that you can’t ever change or stretch the original image. You can only paint over it or add more pixels.
Why SVGs Are So Useful
The SVG (Scalable Vector Graphics) format is different.
Vector files hold a set of text instructions on how to build an image. These files are written in XML (Extensible Markup Language).
XML
XML is an acronym for Extensible Markup Language. This language uses tags to add information to files, which both machines and humans can read.
Read MoreWhen you try to load an SVG file, your device looks at the instructions and builds the picture on demand.
There are several advantages to this system:
- SVGs can be scaled to any size and still look perfect.
- They can also be edited like code files.
- You can even style them using CSS.
- Because SVGs are made of text, they have really small file sizes.
- This means they take up less storage space on your web server.
- And they can load faster than raster graphics.
One other benefit of using SVGs is improved accessibility. You can adjust these files locally on devices, according to the user’s needs, and screen readers can interpret them.
The downside of SVGs is that they can get very large if you include loads of detail. Plus, you can’t optimize them in the same way as raster images. If you want to share photography, you’re probably better off with a JPEG.
But for most other visual content, the SVG format is a strong option.
| Feature | SVG | JPEG | PNG | GIF |
| Scalability | Strong ✅ | Nope ❌ | Nope ❌ | Nope ❌ |
| File Size | Usually small ✅ | Can be small ✅ | Often large ❌ | Small for simple images ✅ |
| Transparency | Yep ✅ | Nope ❌ | Yep ✅ | Yes, but limited ⚠️ |
| Animation | Heck yeah! ? | Nope ❌ | Nope ❌ | Basic only ⚠️ |
| Best for | Graphics, icons, logos | Photos | Images needing transparency | Simple animations |
| Editability | With code! ? | Nope ❌ | Nope ❌ | Nope ❌ |
| Browser Support | Most modern browsers ✅ | All browsers ✅ | All browsers ✅ | All browsers ✅ |
Common Uses for SVG Images
While SVGs are pretty versatile, they mostly appear in web design as:
- Icons: From social media links to shopping cart buttons, SVG icons look crisp on any device.
- Logos: Saving your brand logo as an SVG ensures it will look perfect everywhere — from tiny mobile screens to massive billboards.
- Illustrations: Many websites now use SVG illustrations rather than stock images. Even when the graphics are very detailed, they scale perfectly.
- Animations: Yes, SVGs can move! You can animate them for that extra flair on your website, like a spinning logo or a dancing character.
- Infographics: Because SVGs are scalable, you can also use them to build interactive data visualizations. Very cool!
Working With SVGs: Create or Copy?
Okay, that’s enough starry-eyed praise. It’s time to get to work.
If you want to integrate SVGs into your digital projects, you need to grab some ready-made designs or make your own graphics from scratch.
Finding Free SVGs
Using someone else’s designs is the easier option. And luckily, thousands of SVGs are available to download online.
Many are free for personal projects, but you may need to pay for commercial use.
Here are some of our favorite resources:
- Font Awesome: A popular pack of SVG icons.
- Freepik: Huge database of vector graphics, illustrations, and icons.
- Lineicons: Pack of over 8,400 clean, simple icons.
- Free SVG: Library of completely free SVG illustrations.
- Open Doodles: Free colorful, character-like illustrations of people.
- IconScout: Searchable library of over 9.5 million assets, including free and paid icons, illustrations, logos, and more.
- DrawKit: Multiple packs of 2D/3D illustrations, free and premium.
- unDraw: Loads of great, free SVG illustrations.
Remember that you can edit any SVG you download. So, you can use free files as a starting point for your own creations.
How To Create and Edit SVG Files
Can’t find what you need online? Not to worry. Editing SVGs is a piece of cake.
Here’s a quick walkthrough:
1. Choose Your Software
The easiest way to edit SVGs is with a vector graphics editor. Here are some popular options:
- Adobe Illustrator ($$$): The heavyweight champ. Pricey, but powerful.
- Inkscape (free): The free alternative that packs a punch.
- Figma ($): Great for collaborative design work.
- Sketch ($): A lighter alternative to Illustrator, popular with interface designers.
We will base the rest of this walkthrough on Inkscape, but the process looks very similar in most vector editing apps.
2. Set Up Your Canvas
If you’re starting afresh, you’ll need to create a canvas for your work. In Inkscape, visit File > New and choose the dimensions for your new image.
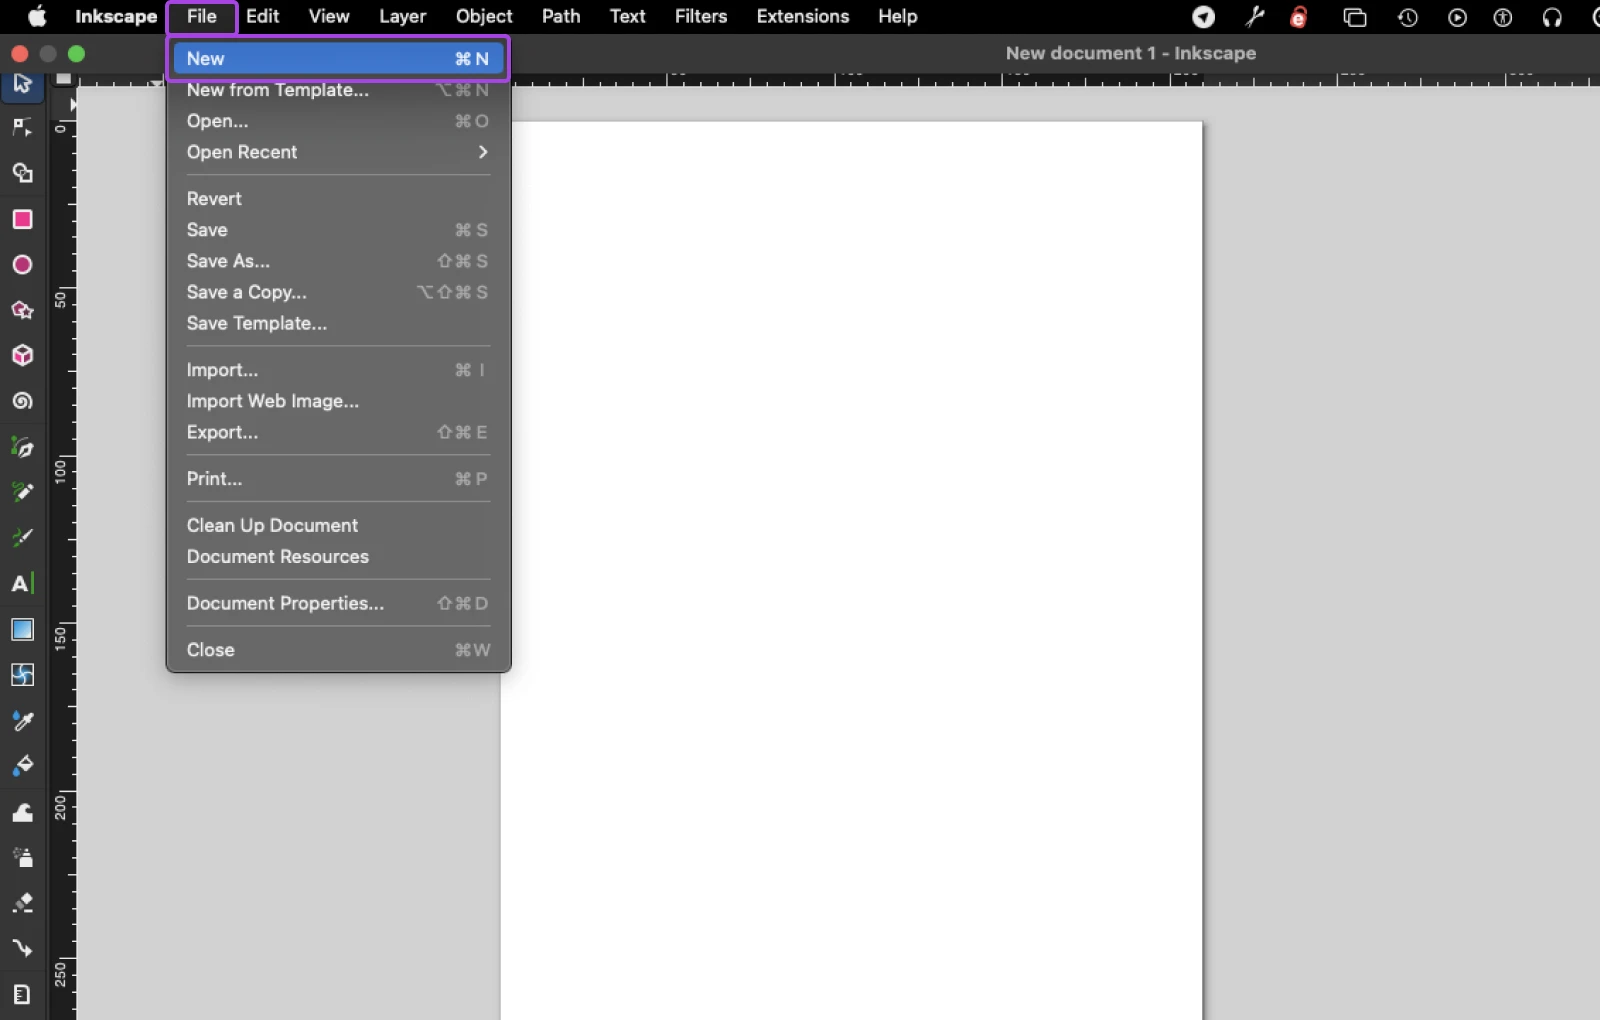
If you want to edit an existing SVG document, head to File > Open to fire up the editor.
3. Draw Your Design
The most important tool in vector editing is the Bezier tool. You can select it from the toolbar on the left of your workspace. The icon looks like a fountain pen drawing a curved line.
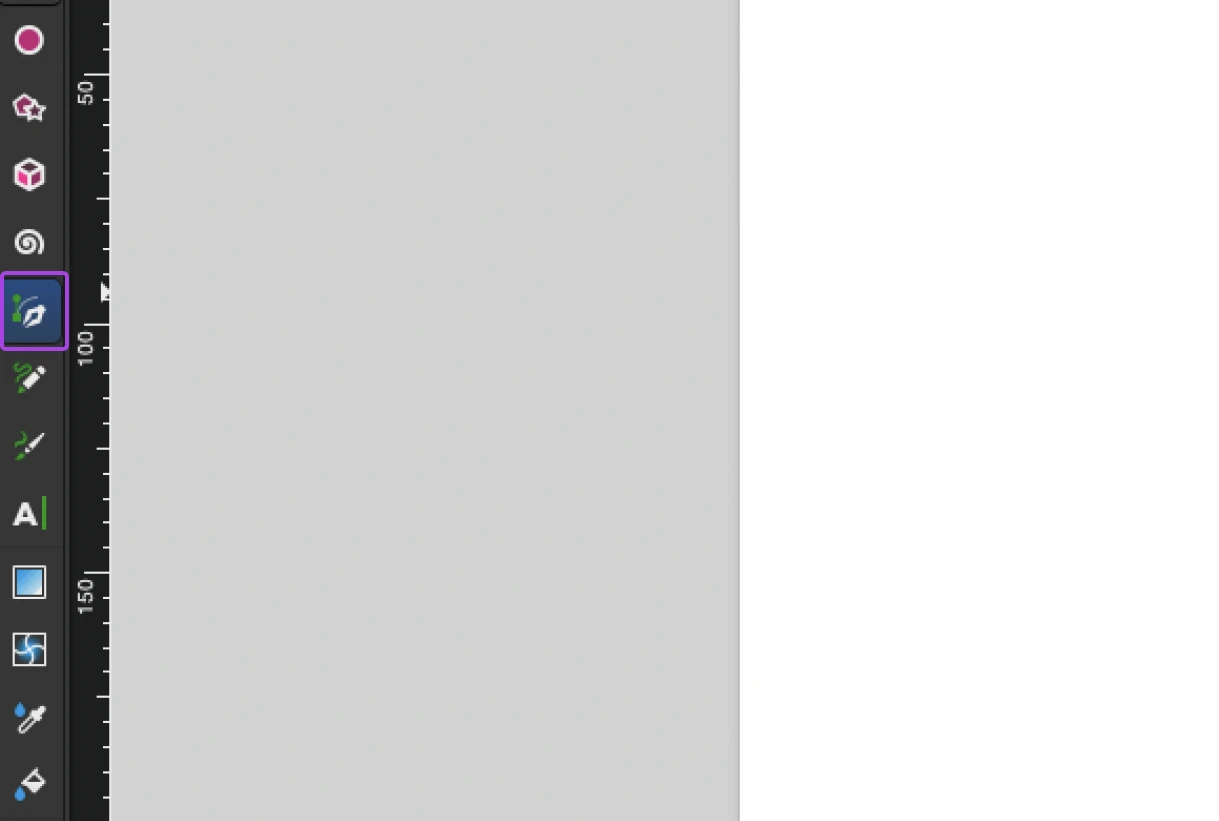
This tool lets you create straight lines and perfect curves with a few clicks.
Each shape you make contains individual paths and points, which are recorded in the underlying XML code.
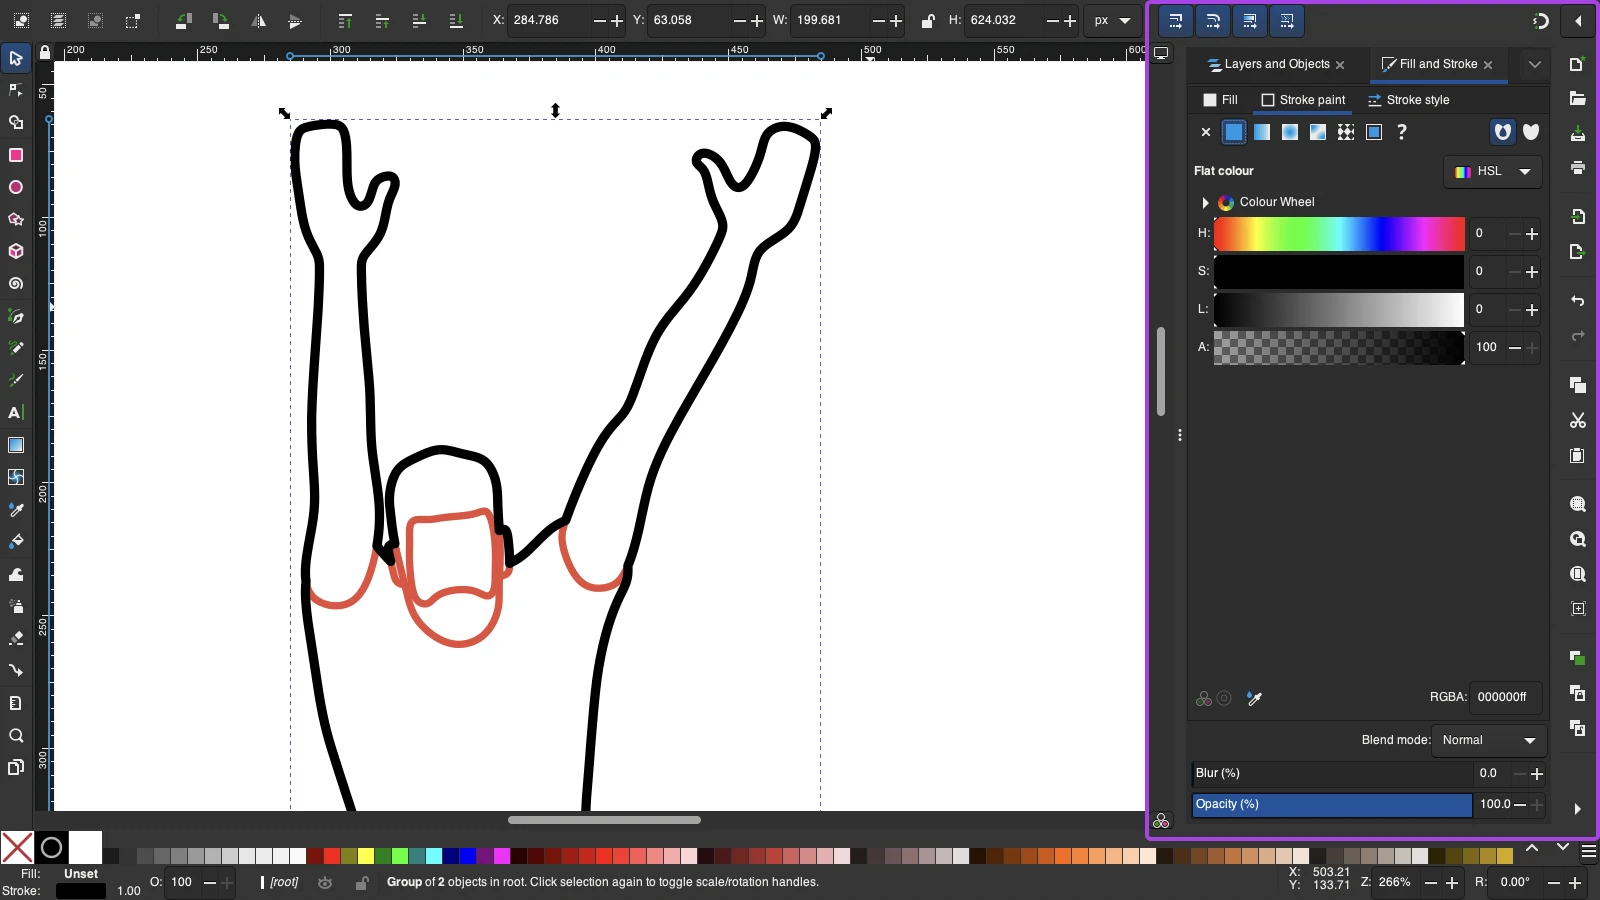
Using the Bezier tool, you can easily go back and adjust these points and paths after you’ve made them.Once you’re happy with the structure, add your own colors via the Object Properties panel.
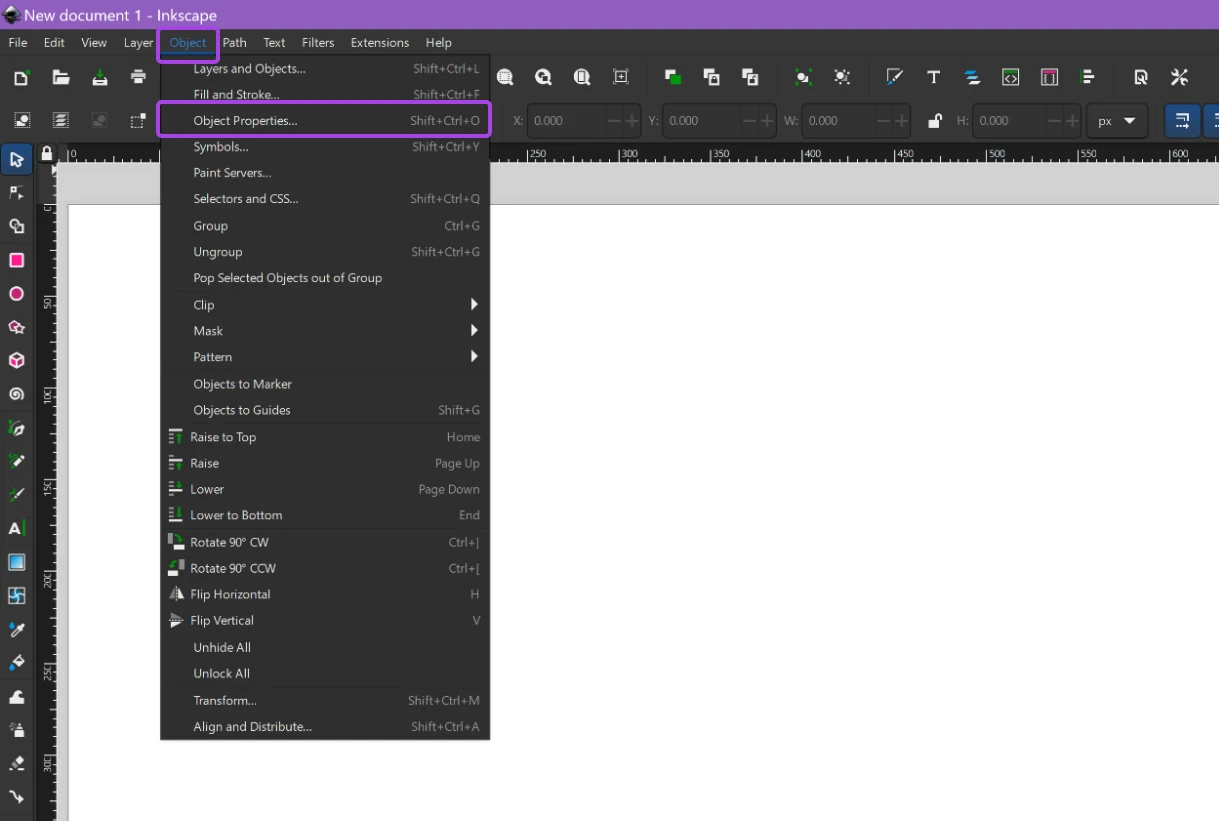
Object properties options will appear in the right-hand menu.
Pro tip: Want to dive deeper into vector editing? Inkscape has an awesome library of free tutorials right here.
4. Save As SVG
Once you’re happy with your graphic, head to File >Save As, and choose SVG as your format.
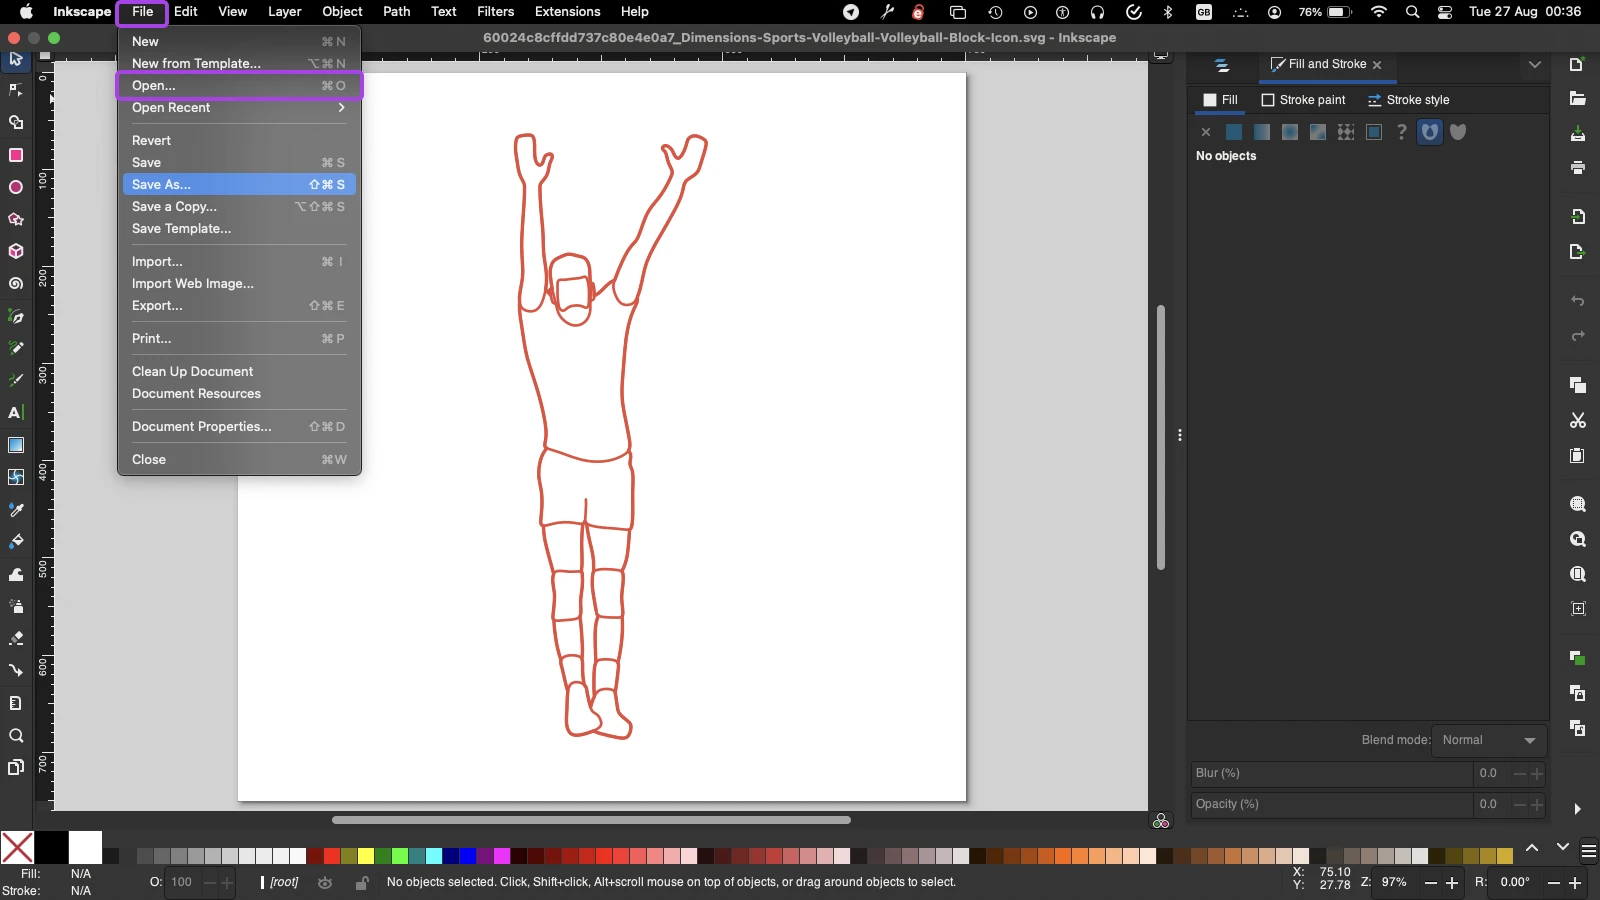
Give it a cool name, and hit save!
How To Add SVGs to Your Website
You’ve made your vector masterpiece. Now, the world deserves to see it.
You can embed SVGs in your website’s HTML. All you need is an <img> tag that points to your file. It should look something like this:
<img src="my-awesome-svg.svg" alt="My Awesome SVG">
Alternatively, you can insert the XML code from your SVG file straight into your web page using the <svg> tag.
Here’s an example:
<svg width="200" height="200">
  <circle cx="50" cy="50" r="40" stroke="red" stroke-width="2" fill="green" />
</svg>
This code will produce a nice round button, with a red outline and a green interior.
Enabling SVG in WordPress
Adding individual images via HTML is a very slow process. You might prefer to upload SVGs via your CMS (content management system).
But there’s a problem for WordPress users.
By default, WordPress doesn’t natively support SVG uploads. This is because bad actors can use SVGs to deliver malware.
The easiest way to enable SVGs is by installing a plugin like Safe SVG or SVG Support. These tools check every upload to make sure nothing nasty is hidden inside.
You can then upload and insert SVGs via the WordPress Media Library. Simply navigate to Media > Add New, and choose the graphics you want to include.
Styling SVGs With CSS
If you embed SVG files using the <svg> tag, you can change how your images will appear using CSS.
Say you created a green graphic, but you want it to look red on your website. Instead of creating a new copy, you can just write the following style:
svg {
  stroke: red;
  fill: blue;
}
The stroke attribute defines what color your graphic’s outline should be. Meanwhile, the fill attribute controls the color between the lines.
Pro tip: There are a lot more attributes to play with.
Making Your SVG Images Responsive
SVG files are infinitely scalable, so you can use them in responsive designs. It just requires a little CSS magic.
Here’s a step-by-step walkthrough:
1. Embed your image using the <svg> tag. This means you can make changes via CSS.
2. Remove the height and width dimensions. This will force your SVG to adapt to its container. Make sure the viewBox part remains. It should look something like this:
<svg viewBox="0 0 20 20" xmlns="https://example.com/file.svg">
  <!-- svg content here -->
</svg>
3. Set the maximum size of your SVG. This prevents the image from spilling outside its container. For example:
svg {
  display: inline-block;
  max-width: 100%;
}
And you’re done!
Pro tip: If this all sounds a bit technical, try ZipWP. It’s an AI-powered website builder that handles the styling for you.
SVG Masterclass: 4 Advanced Tips
We’ve covered the basics of creating and sharing SVGs. To finish up this guide, let’s look at some advanced techniques.
1. Animate Your SVG Graphics
Did you know that you can make your SVGs dance? Yes, animation works on this file type.
As with the original image, you can animate your graphics using simple XML code. Just add an <animate> element inside your shape to get things moving.
It should look something like this:
<svg width="100%" height="auto" xmlns="https://example.com/file.svg">
<circle cx="50" cy="50" r="50" style="fill:red;">
<animate
attributeName="cx"
begin="0s"
dur="5s"
from="30"
to="90%"
repeatCount="indefinite" />
</circle>
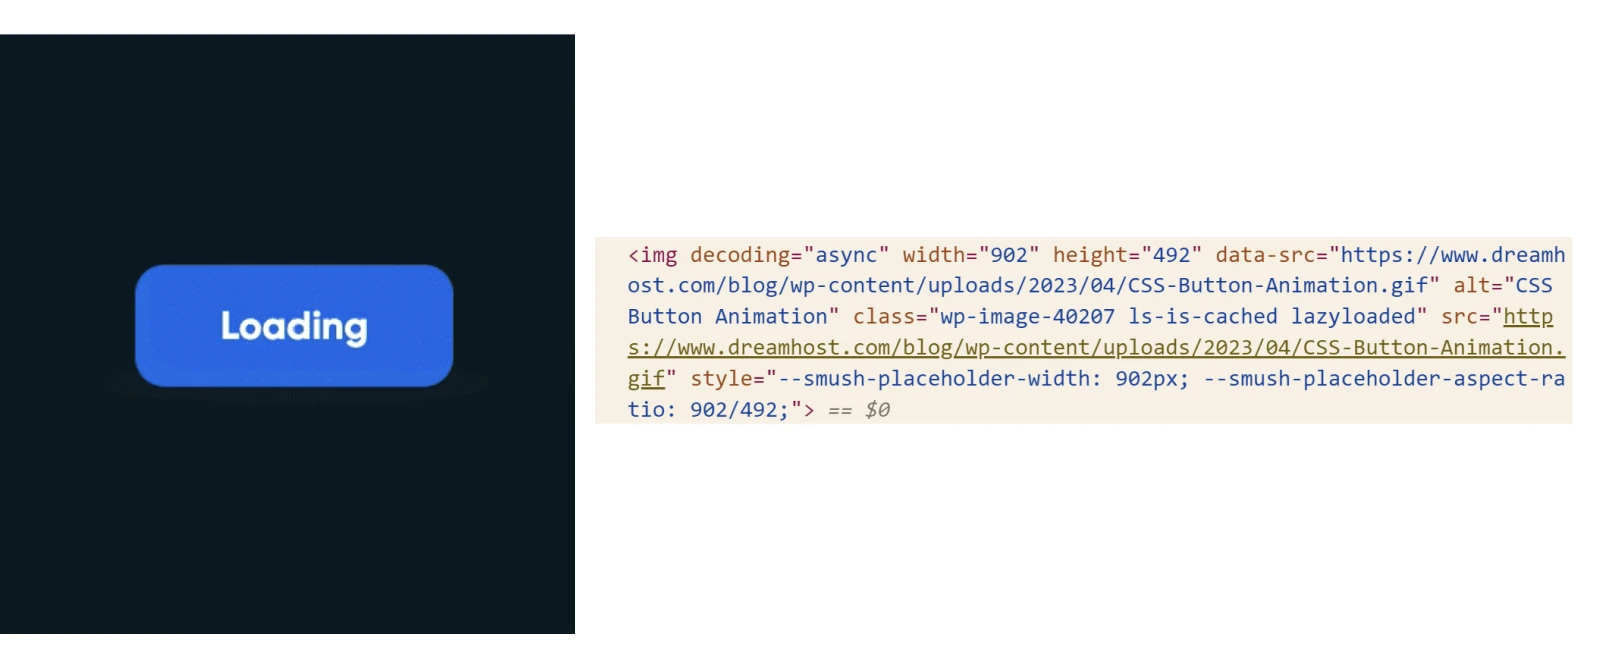
</svg>You can use this technique to add a little movement to icons, create a page loading indicator, or even design animated ads.
2. Use SVG Sprites for Faster Load Times
SVG sprites are like a greatest hits album for your icons. Instead of having dozens of individual icon files, you bundle them all into one SVG.
This means you only need to make one HTTP request per page, no matter how many icons you’re using. It’s a great way to reduce loading times and conserve bandwidth.
Many icon packs are delivered in sprite form nowadays. You can make your own, as well.
To embed a particular icon on your site, you simply pinpoint the area of the sprite file where that icon is saved. You can do this using basic CSS code:
#button {
  width: 20px;
  height: 20px;
  background: url('sprite.svg') -128px 0;
}
Pro tip: We recommend using an online tool like CSS Sprites Generator to calculate the correct distances.
3. Optimize Your SVG Files for Better Performance
While SVG files start pretty small, you can optimize them to make them even lighter.
Here’s how to do it:
- Use a tool like SVGOMG. Yeah, that’s a real thing. It’s a great little web app that lets you compress SVGs without losing quality.
- Simplify paths where possible. Complicated shapes can turn into vast amounts of XML code. Many vector graphics editors have tools for this task. (It’s under Path > Simplify in Inkscape).
- Consider lazy loading for SVGs below the fold. By delaying loading images lower down the page, you can reduce the impact of multiple images.
4. Make Your Graphics Accessible
Because SVGs are text-based files, they are easy for screen readers and other assistive software to understand.
That said, there are still steps you can take to make them even more accessible:
- Include
<title>and<desc>within your SVG files. These elements provide descriptions of the graphic, which are particularly helpful for users who rely on screen readers. - Add a
role="img"attribute. This informs assistive technologies that the SVG is an image. - Fill in the
aria-labelledbyattribute. which should reference the IDs of the<title>and<desc>elements, linking them as labels for the image. - For more complex SVGs, provide alt text. Describe the image, so screen readers have less to interpret.
An additional benefit of making SVGs super-accessible is that you’re also optimizing them for search. SEO win!
Taking Care of Business
Just as Elvis took care of business on stage, SVGs can help you take care of business on your website. These versatile, scalable graphics offer a world of possibilities for web designers and developers alike.
From crisp logos and responsive icons to interactive animations and accessible visuals, SVGs are the unsung heroes of modern web design.
Having checked out this guide, you should feel pretty confident about using SVGs in your projects. But is your hosting up to the test?
If you want to ensure your site can handle tons of high-quality graphics, consider switching to DreamHost.
Our hosting plans all come with unmetered bandwidth (excluding cloud hosting), meaning you don’t have to worry if your site gets lots of visitors.
Fun FAQs About SVGs
If you’re still curious about SVGs, that’s totally fine. We have more knowledge to share. Here’s a quick roundup of some questions we might have missed:
How do you convert SVG to JPEG?
You can do this quickly using a desktop vector editor or an online tool like CloudConvert.
Can you edit SVGs directly in a text editor?
Yes! SVGs are XML-based, so you can modify their code directly.
Is SVG clearer than PNG?
In most cases, yes. This is particularly noticeable if you try to scale up a PNG file.
Can you edit SVGs using JavaScript?
Yep, you can. This is useful for dynamic changes based on user inputs.
Are SVGs supported in all browsers?
SVGs are supported in all modern web browsers, including Chrome, Firefox, Safari, and Edge.
This page contains affiliate links. This means we may earn a commission if you purchase services through our link without any extra cost to you.

