WordPress Posts: Here’s Everything You Need to Know
Posts are one of the two main content types in WordPress, so it’s crucial to understand how they work. Along with pages, posts are your primary vehicle for creating content and sharing it with your visitors. This holds true even if you aren’t building a blog.
In this beginner’s guide, we’ll explain what WordPress posts are and how they can be used. Then we’ll show you how to create, organize, and manage them. Finally, we’ll wrap up with a list of formatting tips to help you improve your posts. There’s a lot to cover, so let’s jump in!
An Introduction to WordPress Posts
Posts are an inherent part of any WordPress website’s blog.
In WordPress, there are two main formats for creating content. The first is your pages, which are primarily static and will likely form the structure of your website. Typical examples include a site’s Home page, About page, Contact page, and so on.
WordPress posts are similar in a lot of ways. You use the same editor to create them, and they can include text, media, and much more. However, they’re designed for more timely content. This is why they are so useful for blogs. They also work well for updates, news articles, and other types of new content published on a regular basis.
Typically, posts are dated and listed in chronological order, and they’re organized using a system of categories and tags (which we’ll discuss soon). By default, the front page of your WordPress site will be a list of your latest posts, although you can change that static page if you’d like.
You’ll find that posts are a versatile content type, capable of doing a lot on your site. What’s more, they’re easy to create and manage. Let’s go over the basics now.
How to Manage Posts in WordPress (In 3 Simple Steps)
Throughout the next few sections, we’ll discuss how to create posts, organize them, and manage them on your WordPress site. You’ll first need to log in to your dashboard before proceeding to the first step.
Step 1: Create Your First Post
To create a post in WordPress, navigate to Posts > Add New in your dashboard. You’ll find the WordPress editor, where you can design your post:
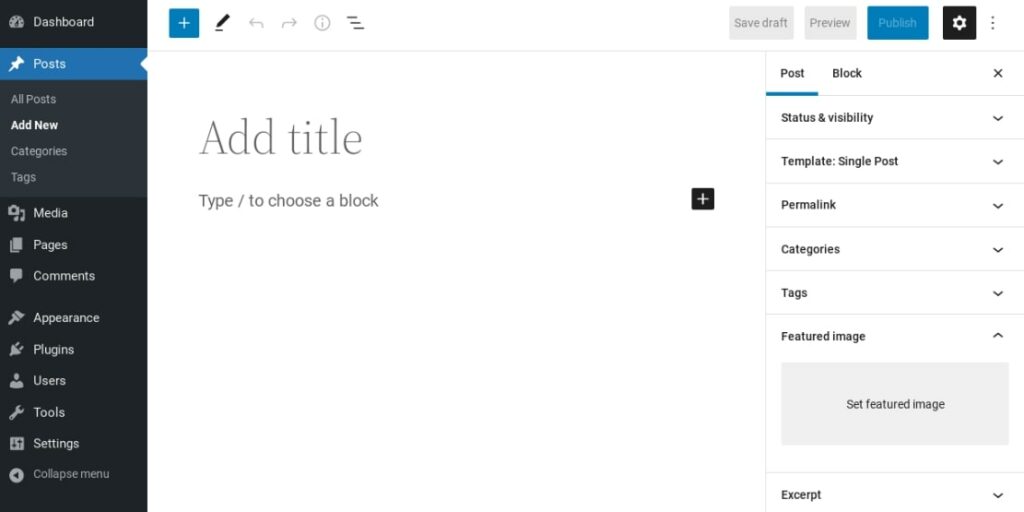
Note that as of WordPress 5.0, the default editor is the Block Editor. Your screen may look a bit different if you’re using an outdated version of the Content Management System (CMS) or the Classic Editor plugin.
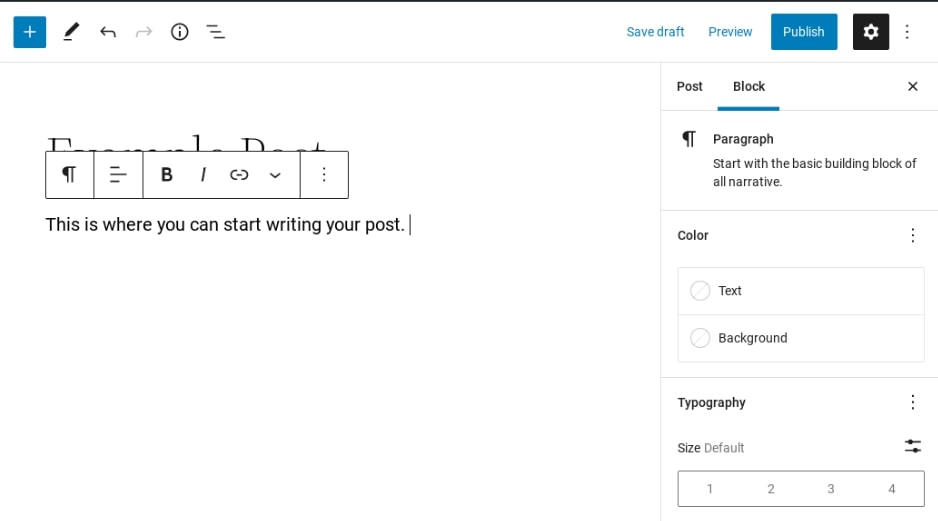
You can add text by clicking in the text field (set the Paragraph block by default). When you add your text, a toolbar menu will appear along the top of the block with your standard formatting options:
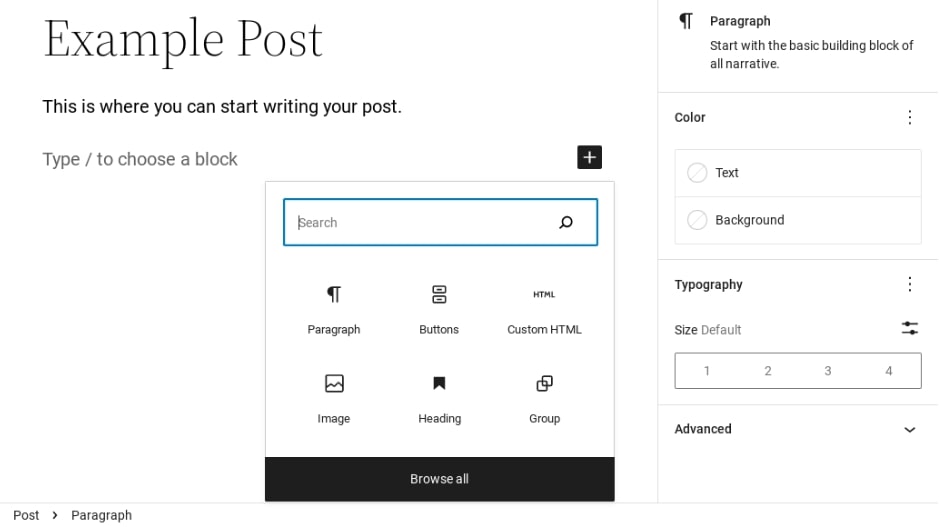
You can also select the Add Block button (the + icon) to insert other blocks, such as Heading, Image, and so on:
If you want to rearrange the order of your content, you can simply drag and drop the blocks to place them in your preferred order.
To the right, you’ll find a panel of settings and options, including Featured Image. Here, you can upload an image that will be used as the header for this particular post.
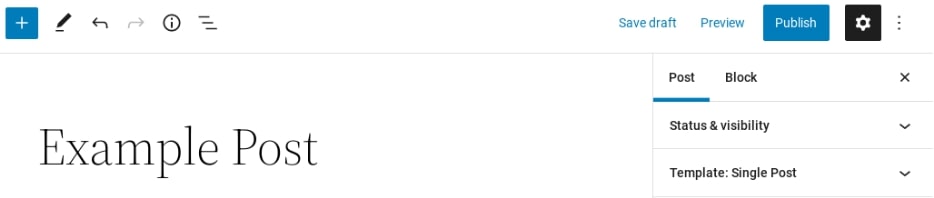
At the top-right of the screen, you’ll notice settings for saving and publishing your post. You can save your post as a draft to work on later, schedule it to go live at a later time, or hit the Publish button:
In addition, you can use the Preview button to see what your post will look like on the front end of your site. It is always recommended to preview your post before you publish, so you can rapidly identify elements that need changing before it goes live.
That’s the basics of creating and editing your WordPress posts. However, you’ll also want to make sure they’re neatly organized.
Step 2: Organize Your Posts With Categories and Tags
If you intend on publishing a lot of posts — for example, if you’re creating a blog or news site — you’ll want to keep them organized. If you don’t, both you and your readers may have a hard time sorting through the backlogs to find specific entries or topics of interest.
WordPress provides two main features for organizing posts: categories and tags. Both can be added to a post on the editing screen:
Assigning categories and tags to your posts is a way to sort them. Categories are generally high-level descriptors of a post’s topic. For example, if you run a health blog, you might have categories called “nutrition” and “fitness.”
Tags, on the other hand, are words or short phrases that describe a particular post’s subject in more detail. If you write a post about how to start a running habit for your health blog, you might assign it tags such as “cardio exercise” and “running tips.”
The biggest difference? Categories can be hierarchical, and tags cannot.
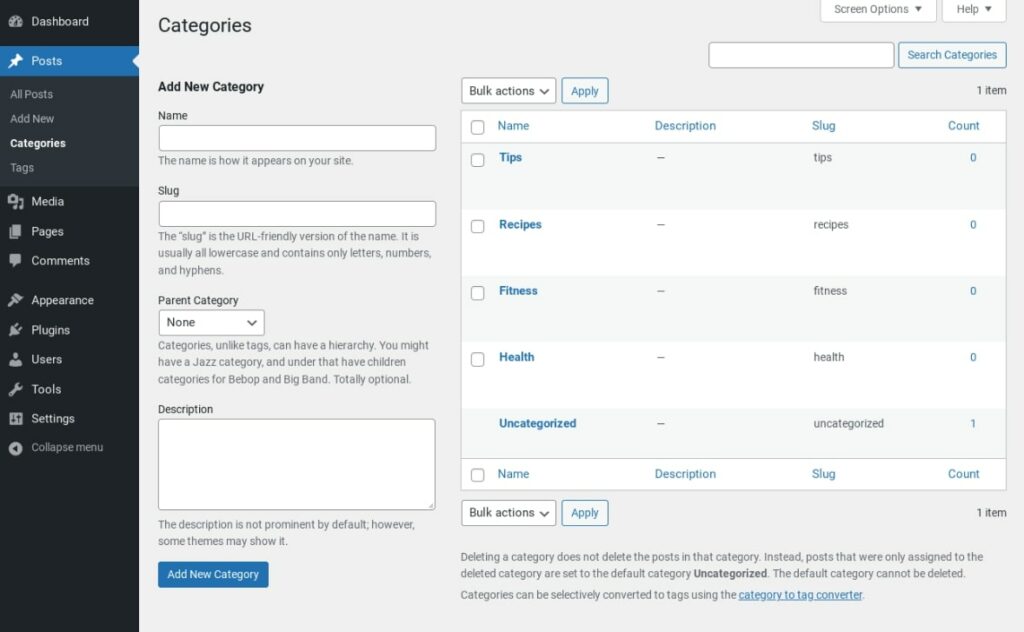
It’s worth noting that you can see all of the categories and tags you’ve been creating by navigating to either Posts > Categories or Posts > Tags, respectively. In those screens, you can set up and optimize these elements before you ever use them in a post:
You should use categories and tags in a way that makes sense to you and your readers, although there are a few best practices to keep in mind. In general, it’s smart to stick with a handful of categories for your site and assign only one to each post. Then, each post can receive a handful of tags (we suggest two to five) to explain the topic.
Above all, the number one rule for using these features is consistency. Having a few distinct categories and some descriptive tags is a perfect way to ensure that people can easily find posts that interest them.
Get Content Delivered Straight to Your Inbox
Subscribe to our blog and receive great content just like this delivered straight to your inbox.
Step 3: Manage Your WordPress Posts
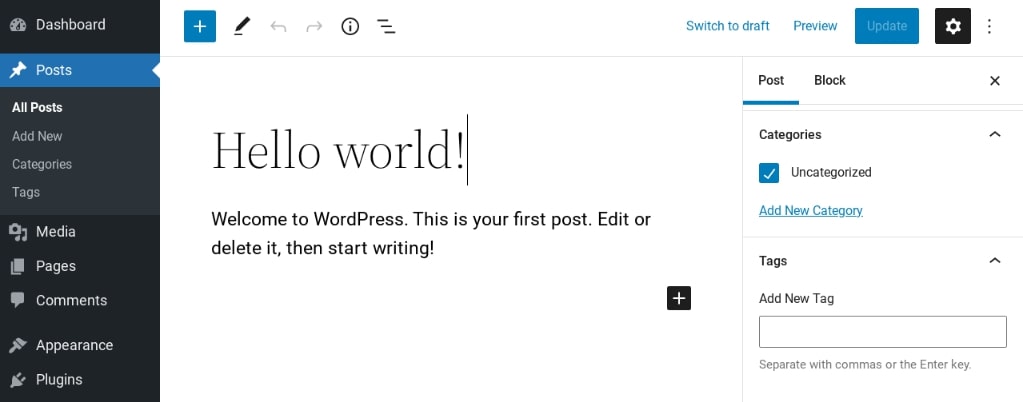
Once you have some posts under your belt, you may need to manage them from time to time. If you head to the Posts tab in your dashboard, you’ll see a list of all your current entries:

You can use the links and drop-down menus at the top of the screen to sort through your posts by type, category, date, and so on. This is helpful if you’re looking for specific kinds of posts. Of course, you can also use the Search Posts box to find one in particular.
If you hover over a specific post’s title, you’ll see a few additional options:

You can edit the post, view it, or send it to the trash to delete it. You can also choose Quick Edit, which will enable you to make a few basic changes without taking you to the full post editor.
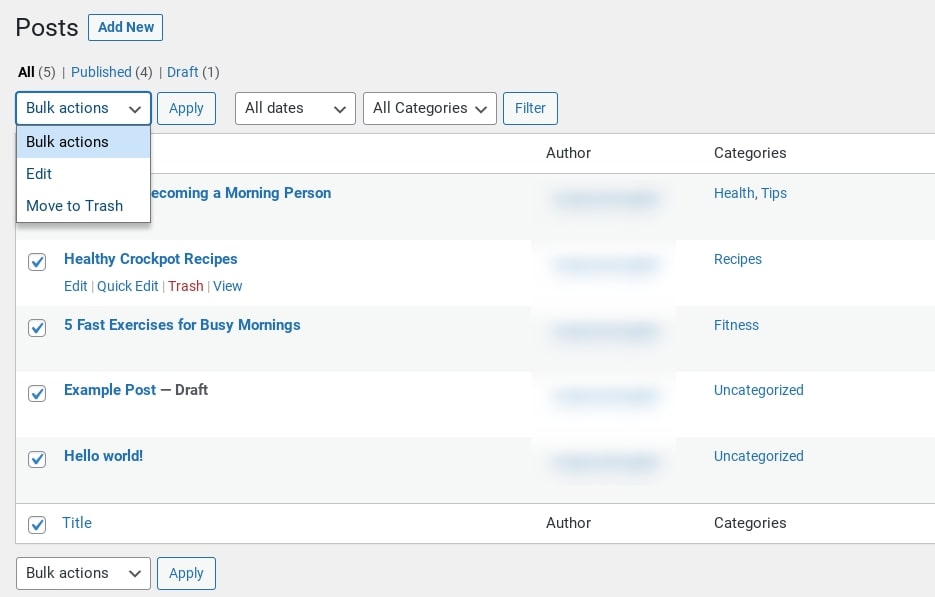
Finally, you may notice the checkboxes to the right of each post. If you select several posts, you can edit or delete them all at once by choosing the corresponding action from the Bulk Actions drop-down menu:
Overall, you’ll find that this screen is handy when it comes to keeping track of your posts. You can see each one’s author, tags, categories, and published date, all without having to visit the posts individually. We recommend becoming familiar with the entire Posts tab since it can be a huge time saver.
Tips for Formatting Your WordPress Posts Effectively
We’ve now covered how to create posts in WordPress, keep them organized, and manage them over time. However, none of that tells you how to actually write and design your posts for maximum effect. The following tips should help you make them as accessible and reader-friendly as possible!
Use Headings and Subheadings
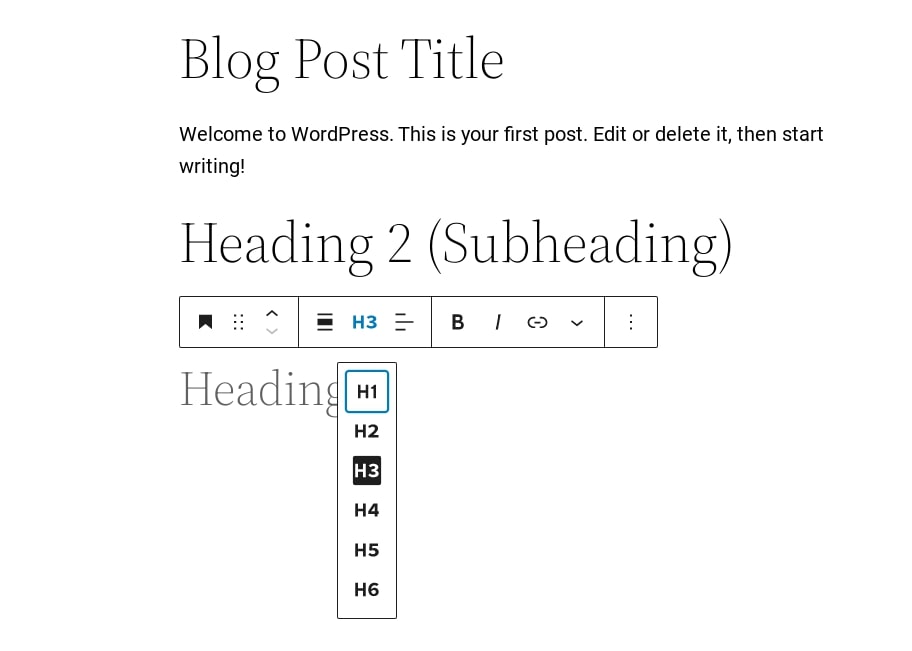
First, let’s return to the post editor within WordPress. The blog post title you enter will always be your Heading 1. When you insert the Heading block, you can choose subsequent headings (ranging from H2 to H6):
Headers are a smart idea for a variety of reasons. At the most basic level, they help to break up content, making it easier for readers to scan and understand.
The Heading block comes with established formatting and a hierarchy. You can use the higher-level headers (with large, bolded text) for significant sections while reserving the lower-level options for subheadings.
For instance, Heading 1 would be used for the title of a post, Heading 2 for main subheadings, Heading 3 for sub-subheadings, and so on. Just keep in mind that the exact formatting of these headers will depend on your theme.
Additionally, using these header options is good practice for Search Engine Optimization (SEO). The way they’re coded communicates clearly to search engine bots how your posts are organized, helping the bots learn what they’re about and promote them to the right searchers.
Finally, WordPress headers help you keep your post formatting consistent. For best results, determine a heading structure for your first post, then use a similar structure in future content.
Apply Formatting Options Sparingly
If you’ve ever used a text editing program on a computer, WordPress’ standard formatting options should feel pretty familiar. You’ll see basic choices such as bolding, italics, and lists:
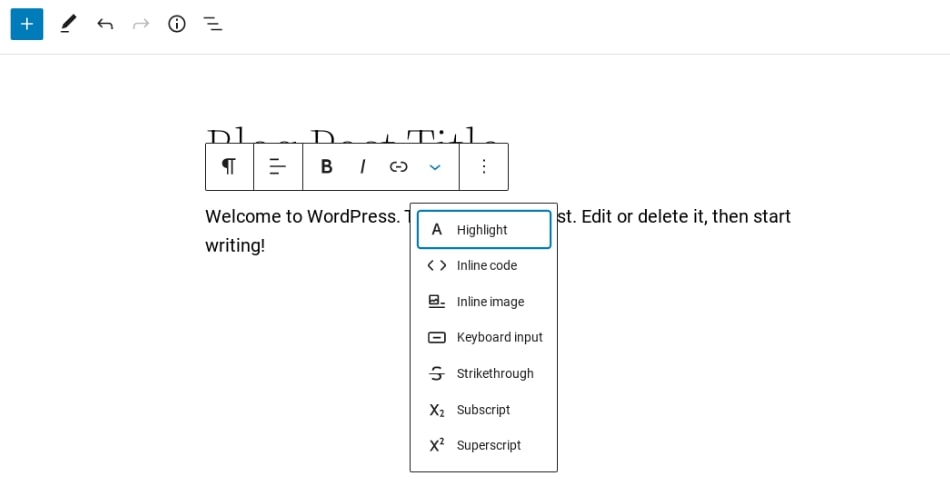
You can also use this toolbar to link and highlight text, as well as apply other formatting styles, such as subscript. It’s best to establish a consistent way to format your WordPress posts.
For example, you may choose to use bold for emphasis and italics for website names and other titles. If you want to add more customization to the formatting, you can try experimenting with HTML.
Keep Your Paragraphs Short
In today’s digital world, people have a lot of content to choose from and sift through. To make yours stand out, you should start by ensuring that it’s easy to read. One excellent way to do that is through headers, which we’ve already discussed. Another is to keep your paragraphs short:
Short paragraphs are a major aspect of writing for the web.
Readers are drawn to content with lots of short, digestible paragraphs (especially when browsing websites). This makes content easier to skim and leaves plenty of white space.
Avoid Walls of Text
Have you ever heard of the dreaded ‘wall of text’? It is precisely what it sounds like — content that is line after line of unbroken text:
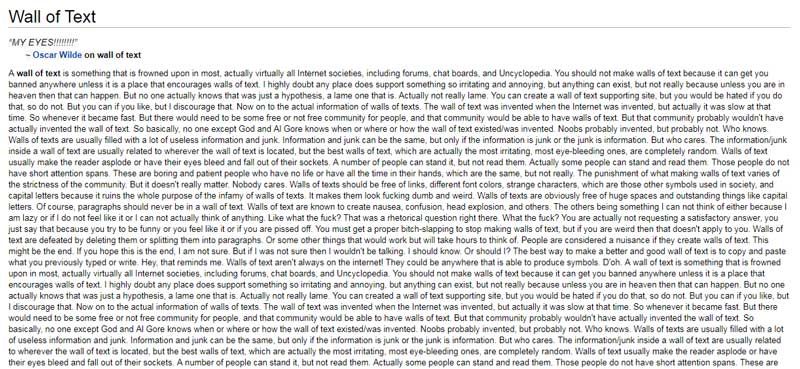
Walls of text can be difficult to read and off-putting to visitors. It will be a lot easier for them to lose their place or become overwhelmed and simply leave the site. To avoid this, you can break up text with other elements, both to give readers a break and provide extra value.
Some of the ways you can break up walls of text within your posts are to use:
- Bulleted and numbered lists
- Images, videos, and other media
- Block quotes
- Social media callouts
The best posts are usually a multimedia experience, so don’t be afraid to get creative! Even the most text-heavy content can be made reader-friendly with the strategic inclusion of some images and lists. Fortunately, WordPress formatting makes this process quick and easy.
Start Creating WordPress Posts
If you’re running a WordPress blog or news site, understanding how posts work is a necessity. However, even if your site has a different focus, posts can still come in handy. This flexible content type is easy to create, manage, and organize, so learning how to do those things should be one of your first goals.
Do More with DreamPress
DreamPress Plus and Pro users get access to Jetpack Professional (and 200+ premium themes) at no added cost!